

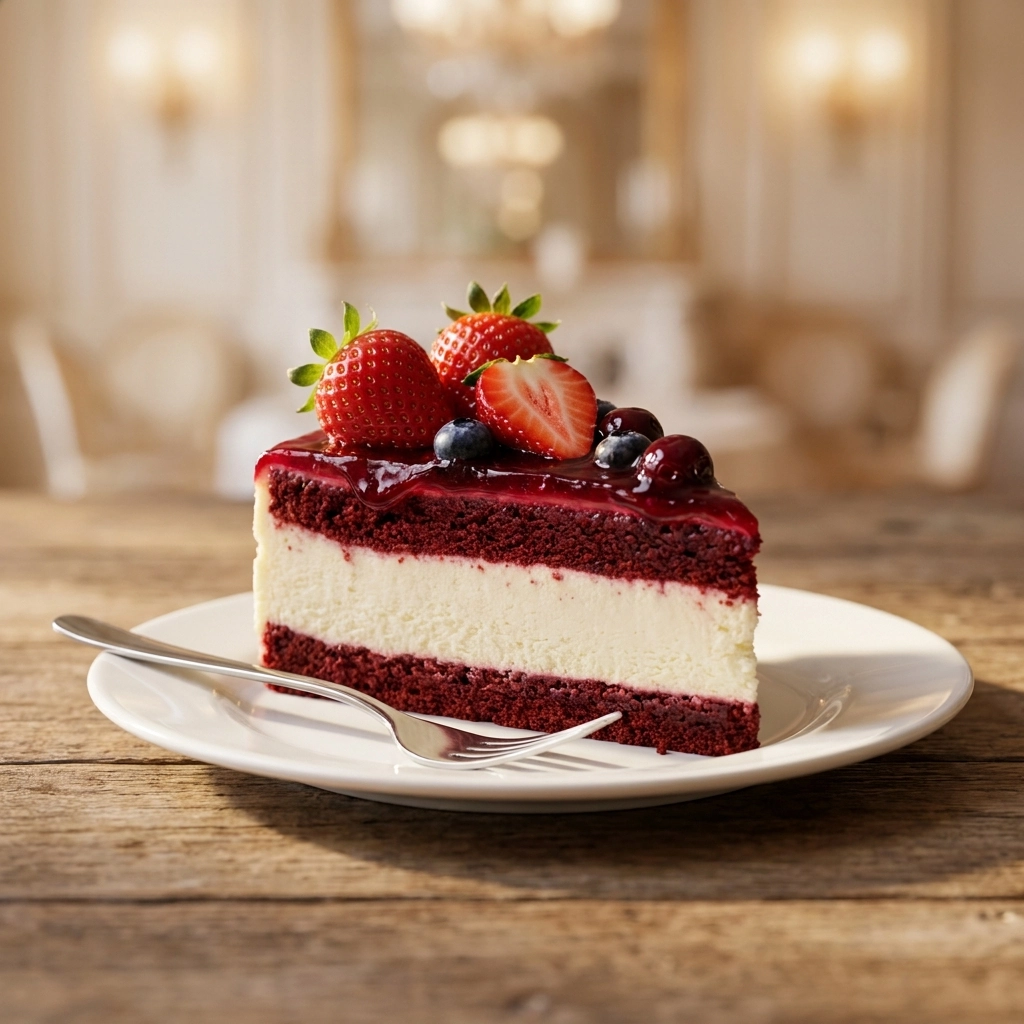
Ever smelled a kitchen filled with cocoa and fresh berries?
I remember the first time I whipped this up, and the scent of warm chocolate mixing with tart strawberries literally stopped me in my tracks. It felt like a fancy bakery had just moved into my apartment.
This treat is a mashup of a classic red velvet cake and a decadent New York-style cheesecake. It is essentially the most romantic dessert I have ever created.
Most people love it because it balances that deep, earthy cocoa flavor with a bright, acidic berry pop. It is a complete flavor profile in one slice.
Compared to store-bought versions, this one doesn’t rely on artificial syrups or thickeners. You can actually taste the real cream cheese and fresh fruit.
It is absolutely perfect for anyone who wants to impress guests without spending ten hours in the kitchen. You get all the credit with a fraction of the stress.
Let me walk you through how to get that perfect, crack-free finish. If you love bold flavors, try our Decadent Red Velvet Oreo Cheesecake Recipe
- ●Why You’ll Love This Recipe
- ●A Brief Background / Why This Recipe Works
- ●Perfect For Special Occasions and Romantic Dates
- ●Main Ingredient Spotlight: Cream Cheese
- ●Secondary Ingredient Spotlight: Fresh Strawberries
- ●Key Ingredients
- ●How to Make It
- ●Pro Tips
- ●Delicious Variations
- ●Best Ways to Serve
- ●Storage and Leftovers
- ●Frequently Asked Questions
- ●Why This Recipe Belongs in Your Weekly Rotation
- ●Final Thoughts
There are plenty of cheesecakes out there, but this specific combination is a game-changer for a few reasons.
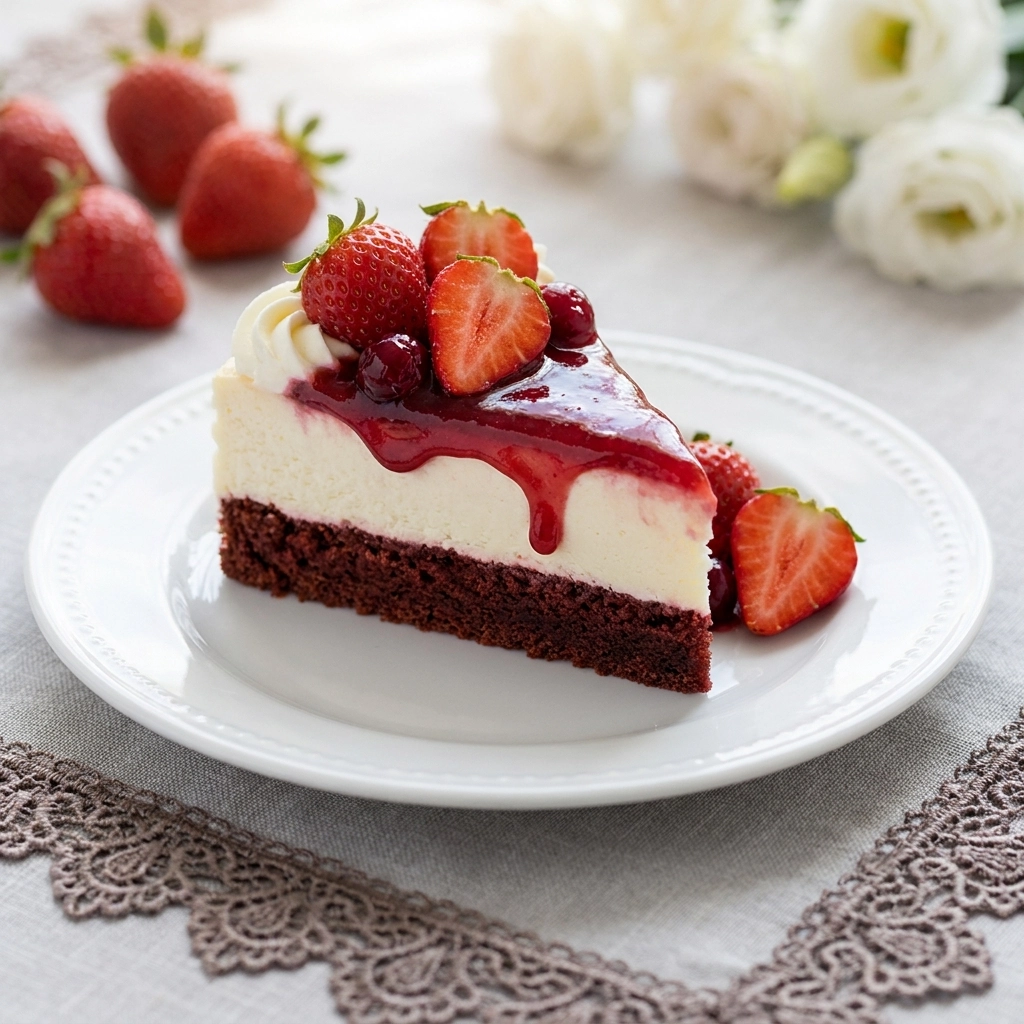
- ●The visual contrast is stunning. The deep crimson crust against the white cheesecake and red glaze looks professional on any plate.
- ●It hits every taste bud. You get salt from the crust, sweetness from the strawberries, and tang from the cheese.
- ●Texture is a priority here. The velvety smooth filling contrasts perfectly with the slightly crumbly red velvet base.
- ●Customization is incredibly easy. You can adjust the strawberry glaze thickness based on how much you love fruit.
- ●It is a crowd-pleaser. Even people who aren’t huge cheesecake fans usually love the red velvet twist.
- ●Prep is manageable. Most of the work happens in the mixer, leaving you time to relax.
- ●The flavor is timeless. It evokes the nostalgia of a red velvet cake but feels more modern and refined.
- ●It stores beautifully. The flavors actually deepen after a day in the fridge, making it great for make-ahead planning.
Honestly, once you see the look on your friends’ faces when you slice into this, you will be hooked.
A Brief Background / Why This Recipe Works |
The magic here lies in the chemical interaction between the cocoa powder and the acidity of the cheesecake. Red velvet is traditionally a reaction between cocoa, vinegar, and buttermilk, which creates that unique, mild chocolate taste.
You’ll notice that the strawberry glaze acts as a natural highlighter. It brings out the subtle fruitiness often hidden in high-quality cocoa powder.
This synergy is why the dessert feels light despite its decadence. It is a carefully constructed balance of heavy and bright elements.
Perfect For Special Occasions and Romantic Dates |
This dessert is a total knockout for Valentine’s Day or anniversaries. The red and white color palette is practically built for romance, and the richness makes it feel like a true celebration.
It also works wonders for holiday dinner parties. Because it can be made a day in advance, you can focus on the main course while this chills perfectly in the fridge.
For family gatherings, this replaces the need for multiple desserts. It satisfies the chocolate craving and the fruit craving all at once. For a little more sweetness, try our Irresistible Strawberry Cheesecake Cinnabon Rolls Recipe
Main Ingredient Spotlight: Cream Cheese |
Cream cheese is the structural backbone of this recipe. Its high fat content provides that signature melt-in-your-mouth texture, while the lactic acid provides a tang that prevents the cake from being cloyingly sweet.
Using full-fat blocks is non-negotiable here. Low-fat versions contain more water and stabilizers, which can lead to a grainy texture or a cheesecake that doesn’t set properly.
Secondary Ingredient Spotlight: Fresh Strawberries |
Fresh strawberries bring the necessary brightness to the plate. Their natural malic acid cuts through the density of the cream cheese, making each bite feel refreshed.
When cooked down into a glaze, the strawberries concentrate their sugars, creating a natural syrup that clings to the cake. Trust your nose here; you want that smell of jammy, concentrated fruit before you pour it over the top.
Key Ingredients |
Here is everything you will need to gather before you start your baking adventure.
- ●Graham Crackers — provides the structural crunch and a honey-like sweetness to the base.
- ●Cocoa Powder — adds the deep, chocolatey essence that defines the red velvet profile.
- ●Red Food Coloring — creates the iconic crimson hue that makes the cake visually striking.
- ●Cream Cheese — forms the creamy, tangy center and provides the necessary body.
- ●Sugar — sweetens the filling and helps stabilize the egg proteins during baking.
- ●Sour Cream — adds a touch of extra acidity and ensures the texture remains silky smooth.
- ●Eggs — act as the binding agent and provide lift to the cheesecake structure.
- ●Vanilla Extract — enhances all the other flavors and adds a warm, aromatic finish.
- ●Fresh Strawberries — used for the vibrant, tart topping that balances the richness.
- ●Lemon Juice — prevents the strawberries from oxidizing and brightens the fruit flavor.
 How to Make It |
Follow these steps closely to ensure a silky finish and a perfectly set base.
- Prepare the crust: To ensure the base doesn’t slide or crumble, you must press the crumbs firmly into the pan. Combine your crushed crackers, cocoa, and melted butter, then press the mixture into the bottom of a springform pan using the bottom of a measuring cup.
- Bake the base: To set the flavors and prevent a soggy bottom, the crust needs a quick heat blast. Bake the crust for about 10 minutes at 350F, then let it cool completely before adding the filling.
- Cream the cheese: To avoid those annoying little lumps in your cake, you must start with room temperature ingredients. Beat the cream cheese and sugar on medium speed until the mixture looks fluffy and completely smooth.
- Incorporate the eggs: To prevent the batter from over-aerating (which causes cracks), you should add eggs one at a time on low speed. Stir in the eggs and vanilla slowly, mixing only until they are just combined.
- Fold in the sour cream: To achieve a professional, velvety consistency, you need to gently blend in the sour cream. Use a spatula to fold the sour cream into the batter, ensuring no streaks remain.
- The water bath technique: To stop the cheesecake from cracking due to direct heat, you must use a bain-marie. Wrap the outside of your springform pan in heavy-duty foil, place it in a larger roasting pan, and fill the roasting pan with an inch of hot water.
- Bake and cool: To keep the center creamy, you must not overbake the cake. Bake until the edges are set but the center still has a slight jiggle, then turn off the oven and leave the door cracked for an hour.
- Simmer the glaze: To create a thick, glossy topping, the strawberries need to be reduced. Heat the berries, sugar, and lemon juice in a saucepan over medium heat until the fruit breaks down and the liquid thickens.
- The final chill: To ensure clean slices, the cake must be fully set. Refrigerate the cheesecake for at least 6 hours, preferably overnight, before topping with the cooled strawberry glaze.
1A few small tweaks can make a huge difference in the final result of your dessert.
- ●2Room Temp Everything: Your cream cheese and eggs must be room temperature to prevent the batter from breaking or curdling.
- ●3Avoid Overbeating: Once the eggs go in, stop mixing as soon as they disappear; too much air causes the cake to puff up and then collapse.
- ●4The Foil Shield: Ensure your foil wrap around the pan is tight and waterproof to avoid water leaking into your red velvet crust.
- ●5Sieve the Glaze: If you dislike seeds, push your strawberry mixture through a fine-mesh sieve for a glass-like finish.
- ●6The Hot Knife Trick: Dip your knife in hot water and wipe it clean between every single slice for those perfect, bakery-style edges.
7For more inspiration, check out Red Velvet Oreo Cheesecake Main.Webp
Delicious Variations |
Depending on the season or your dietary needs, you can easily pivot this recipe.
- ●White Chocolate Twist: Fold in white chocolate chips to the batter for an extra layer of creaminess.
- ●Raspberry Swap: Use fresh raspberries instead of strawberries for a sharper, more tart profile.
- ●Dairy-Free Option: Substitute the cream cheese with a high-quality cashew-based cream cheese and use coconut oil for the crust.
- ●Chocolate Chunk Base: Stir in mini chocolate chips into the red velvet crust for added texture.
- ●Maple-Strawberry Glaze: Add a tablespoon of maple syrup to the strawberry reduction for a cozy, autumnal vibe.
No matter which version you choose, the core balance of cocoa and fruit will always shine through.
Best Ways to Serve |
Presentation is everything when you are serving a cake this beautiful.
- ●On a white porcelain platter to make the red colors pop.
- ●With a dollop of fresh whipped cream on the side.
- ●Garnished with a single, mint leaf and a whole strawberry.
- ●Alongside a glass of chilled Prosecco or a strong espresso.
Your pan should be removed carefully using a thin knife to loosen the edges before you release the springform clip. This ensures the red velvet crust stays intact.
I love serving this at brunch for a special treat. The tanginess of the cheesecake pairs beautifully with a morning coffee. For more visual ideas, take a look at Red Velvet Oreo Cheesecake 2.Webp
Storage and Leftovers |
Refrigerating
Keep the cake in an airtight container or covered with plastic wrap in the fridge for up to 5 days. The flavors actually meld better over time, making day two the best slice.
Reheating
Do not reheat this dessert in the oven or microwave. Cheesecake is meant to be eaten cold, and heating it will cause the fats to separate and the texture to collapse.
Freezing
You can freeze slices for up to 3 months individually in parchment paper and foil. Thaw them slowly in the fridge overnight before serving to maintain the creamy consistency. You can find more tips at Indulge In Flavorful Red Velvet Cheesecake Bliss Today
Frequently Asked Questions |
- ●Q: Why did my cheesecake crack on top?A: Cracks usually happen because of overmixing the eggs or baking at too high a temperature. When you beat too much air into the batter, the cake rises like a soufflé and then sinks, creating a crack. Using a water bath helps maintain a steady, gentle temperature to prevent this.
- ●Q: Can I use frozen strawberries for the glaze?A: Yes, you absolutely can use frozen berries. In some cases, frozen berries actually have a more intense flavor than out-of-season fresh ones. Just be sure to simmer them a bit longer to cook off the excess water that frozen fruit releases.
- ●Q: Do I have to use red food coloring?A: The coloring is purely for the aesthetic appeal of the red velvet look. If you prefer to avoid artificial dyes, you can skip it and you will have a delicious chocolate strawberry cheesecake. The taste remains exactly the same regardless of the color.
- ●Q: My crust is too crumbly, what happened?A: A crumbly crust usually means there wasn’t enough melted butter to bind the crumbs together or the crust wasn’t pressed down firmly enough. Make sure to use a flat object to pack the mixture tightly into the pan before baking it.
- ●Q: Can I make this in a regular cake pan?A: While you can, a springform pan is highly recommended. Because cheesecake is so creamy and delicate, trying to flip it out of a standard cake pan often results in the cake breaking. The springform allows you to remove the walls without touching the cake.
Why This Recipe Belongs in Your Weekly Rotation |
Now, I know a cheesecake isn’t exactly a “weekly” habit for everyone, but having this in your repertoire is a total power move. It is the ultimate solution for any last-minute dinner party or celebration.
It saves you from the disappointment of overpriced bakery cakes that often taste like cardboard. at home, you control the quality of the chocolate and the freshness of the berries.
Plus, the process of making it is incredibly therapeutic. There is something so satisfying about watching that glossy strawberry glaze pour over the pristine white cheesecake layer.
It is more than just a dessert; it is a way to bring people together around a table for something truly special. Once you master the technique, you’ll find yourself looking for any excuse to bake it again.
Final Thoughts |
This Red Velvet Strawberry Cheesecake is a luxurious blend of cocoa, cream, and fresh fruit. It manages to be both decadent and refreshing, providing a professional-grade dessert experience right in your own kitchen.
You should make this because it elevates your dessert game instantly. It is a reliable, stunning recipe that tastes even better than it looks, ensuring your guests leave happy and impressed.
Go ahead and treat yourself to a slice of pure, crimson bliss today!
Creamy Red Velvet Strawberry Cheesecake with Fresh Berry Glaze
- Total Time: 1 hour 30 minutes
- Yield: 12 servings 1x
Description
A stunning fusion of a chocolatey red velvet crust and a creamy New York-style cheesecake, topped with a vibrant, homemade strawberry glaze.
Ingredients
- 1.5 cups graham cracker crumbs
- 1/4 cup cocoa powder
- 6 tbsp melted unsalted butter
- 1 tsp red food coloring
- 24 oz cream cheese, softened
- 1 cup granulated sugar
- 1 cup sour cream
- 3 large eggs
- 1 tbsp vanilla extract
- 2 cups fresh strawberries
- 1/4 cup sugar (for glaze)
- 1 tbsp lemon juice
Instructions
- Preheat oven to 350F and grease a 9-inch springform pan.
- Mix graham crumbs, cocoa, red coloring, and melted butter; press firmly into pan and bake for 10 mins.
- Beat cream cheese and sugar until smooth and fluffy.
- Add eggs one at a time on low speed, followed by vanilla extract.
- Fold in sour cream gently with a spatula.
- Wrap pan in foil, place in water bath, and bake for 50-60 mins until edges are set.
- Cool in oven with door cracked for 1 hour, then refrigerate for 6+ hours.
- Simmer strawberries, sugar, and lemon juice until thickened; cool completely.
- Pour strawberry glaze over the chilled cheesecake and slice.
- Prep Time: 30 minutes
- Cook Time: 60 minutes
- Category: Dessert
- Method: Baking
- Cuisine: American


