

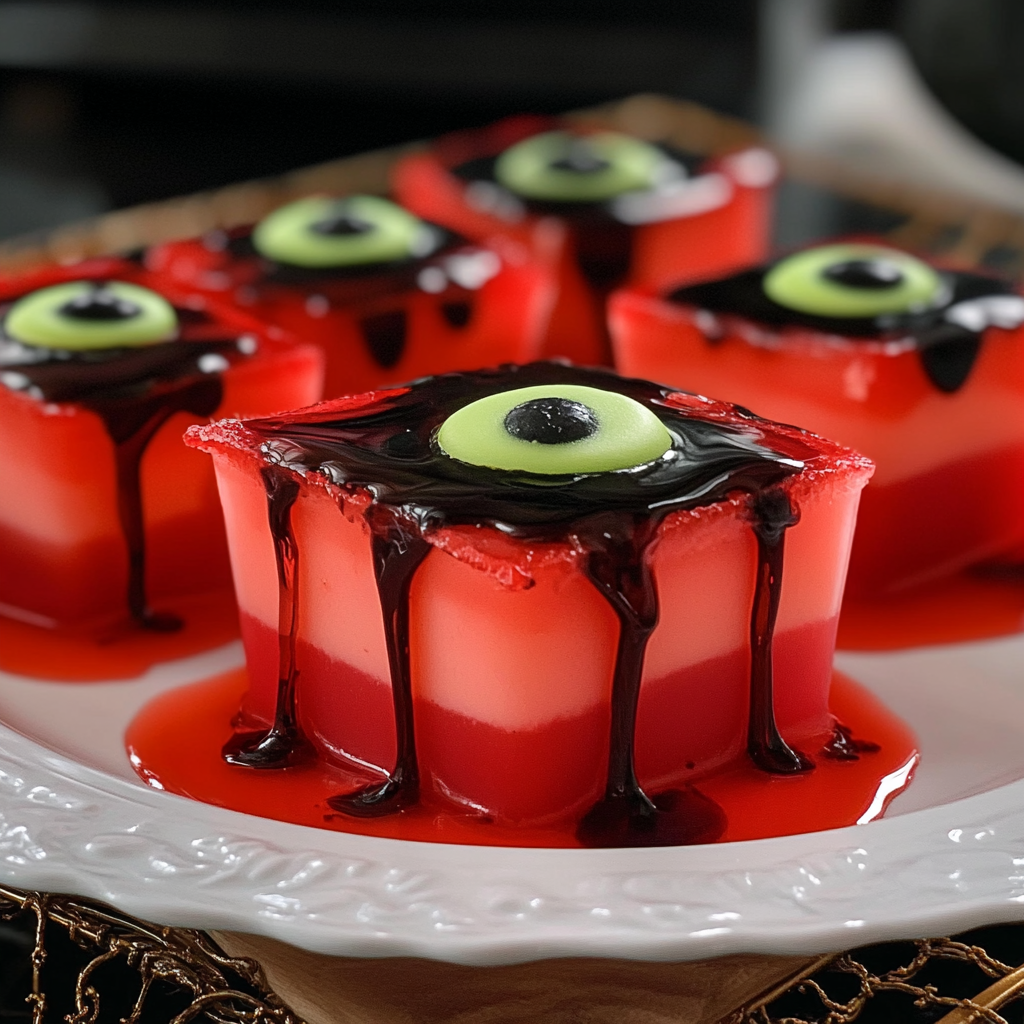
Intro and Brief Recap
Have you ever wondered how to make a treat that is both delicious and delightfully spooky? Crispy Oreo Eyeball Truffles are the perfect blend of creamy, crunchy, and sweet flavors that will leave your taste buds tingling with joy. With their unique appearance and rich taste, these truffles are not just a feast for the palate but also for the eyes. They make an excellent addition to any Halloween party or festive gathering.
As I recall the first time I made these delightful treats, I was hosting a Halloween get-together with friends. The anticipation in the kitchen was palpable as we combined crushed Oreos with cream cheese. Once we shaped them into eyeballs and coated them in chocolate, laughter filled the air. Each bite revealed layers of flavor that perfectly complemented each other—sweetness from the Oreos, creaminess from the cheese, and a satisfying crunch from the coating. Crispy Oreo Eyeball Truffles are sure to impress your guests while adding a fun twist to your dessert table.
Key Ingredients For Crispy Oreo Eyeball Truffles
Here’s what you’ll need to make this delicious dish:
Oreo Cookies: These classic cookies provide the base flavor and texture for your truffles; use regular Oreos for simplicity.
Cream Cheese: Softened cream cheese binds the crushed Oreos together, adding richness and creamy texture.
Chocolate Chips: Semi-sweet or dark chocolate chips work best for coating; they melt easily and create a delightful shell.
Edible Eyes: These fun decorations will give your truffles their spooky appearance; you can find them at craft stores or online.
Coconut Oil: Adding a bit of coconut oil when melting chocolate helps achieve a smooth consistency for coating.
The full ingredients list, including measurements, is provided in the recipe card directly below.
Instructions For Crispy Oreo Eyeball Truffles
Follow these simple steps to prepare this delicious dish:
First Step: Crush the Oreos
Begin by placing Oreo cookies in a food processor. Pulse until they reach a fine crumb consistency. This will be your base mixture.
Second Step: Mix in Cream Cheese
Transfer the crushed Oreos into a mixing bowl. Add softened cream cheese and mix until fully combined and smooth. You can use an electric mixer or mix by hand.
Third Step: Shape into Balls
Scoop out portions of the mixture and roll them into balls about one inch in diameter. Place them on a baking sheet lined with parchment paper.
Fourth Step: Chill the Balls
Refrigerate the Oreo balls for about 30 minutes to firm up before coating them in chocolate. This step is crucial for maintaining their shape.
Fifth Step: Melt Chocolate
In a microwave-safe bowl, combine chocolate chips and coconut oil. Microwave in intervals of 20 seconds, stirring after each interval until fully melted and smooth.
Sixth Step: Coat and Decorate
Dip each chilled Oreo ball into melted chocolate using a fork to ensure even coverage. Return them to the baking sheet and place an edible eye on top before the chocolate hardens.
Transfer to plates for serving these whimsical treats that will wow your guests at any gathering!
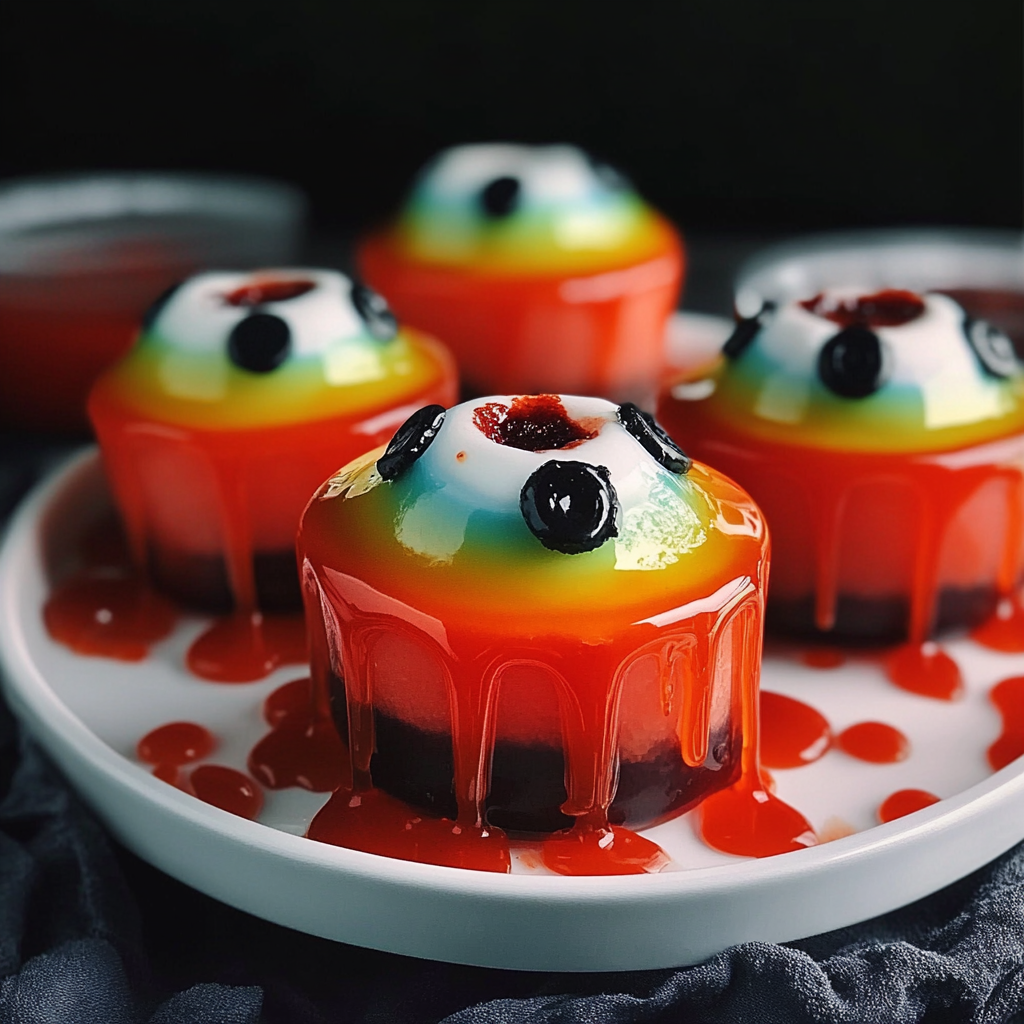
Expert Tips
Here are some helpful tips to ensure the best results for your dish:
Use Fresh Ingredients: Ensure your cream cheese is fresh for optimal flavor and texture.
Experiment with Flavors: Try using different flavored Oreos or adding extracts like vanilla or peppermint for variety.
Store Properly: Keep leftover truffles in an airtight container in the fridge for up to one week.
Preparation Steps
To create your Crispy Oreo Eyeball Truffles, follow these straightforward steps:
Start by crushing the Oreos in a food processor until they form fine crumbs. Combine the crushed Oreos with cream cheese in a large bowl. Mix thoroughly until the mixture is well blended and forms a dough-like consistency.
Next, take small portions of the mixture and roll them into balls, about one inch in diameter. Place these rolled truffles on a baking sheet lined with parchment paper. Once all the truffles are shaped, refrigerate them for about 30 minutes to firm up.
While the truffles chill, melt white chocolate in a microwave-safe bowl. Heat it in short bursts of 15 seconds, stirring in between until completely smooth. Once melted, dip each chilled truffle into the white chocolate using a fork. Make sure to coat them evenly for that perfect crispy texture.
After dipping, place the chocolate-covered truffles back onto the parchment-lined baking sheet. Allow them to set for about 10-15 minutes at room temperature or refrigerate briefly to speed up the hardening process.
Now it’s time to decorate! Use black edible gel or melted dark chocolate to create eyes on each truffle. You can use candy eyes for an even spookier effect. The final touch will make your Crispy Oreo Eyeball Truffles look delightfully creepy and ready for any occasion.
Serving Suggestions
These Crispy Oreo Eyeball Truffles make a fantastic treat for Halloween parties, movie nights, or family gatherings. Serve them on a spooky platter alongside some themed drinks or desserts to enhance your eerie setup.
For an added visual effect, consider placing them inside fake spider webs or alongside plastic spiders. You could also pair them with orange and black decorations to highlight their festive theme.
They also work well as party favors when wrapped in clear bags tied with black ribbons. Simply place a few truffles inside each bag for guests to take home and enjoy later.
Storage Tips
To keep your Crispy Oreo Eyeball Truffles fresh, store them in an airtight container in the refrigerator. They can last up to one week if kept properly sealed. If you want to save some for later enjoyment, consider freezing them.
When freezing, place the truffles in a single layer on a baking sheet until they are solidified. Then transfer them into freezer bags or containers while ensuring they are separated to prevent sticking together. Thaw them overnight in the refrigerator before serving again.
Presentation Ideas
This Crispy Oreo Eyeball Truffles is versatile and pairs wonderfully with:
Dark Chocolate Drizzle: Add an elegant touch by drizzling melted dark chocolate over the truffles before serving.
Candy Corn: Surround your platter with colorful candy corn to add a festive flair.
Spooky Servings: Use Halloween-themed plates or cupcake stands for an eye-catching presentation.
FAQs
What are Crispy Oreo Eyeball Truffles made of?
Crispy Oreo Eyeball Truffles consist mainly of crushed Oreo cookies and cream cheese mixed together to form a dough-like base. The truffles are coated in melted white chocolate and decorated with edible gels or candy eyes for that spooky appearance. This combination creates both a delicious taste and fun texture that everyone loves during festive occasions like Halloween.
Can I customize my Crispy Oreo Eyeball Truffles?
Absolutely! You can customize your Crispy Oreo Eyeball Truffles by experimenting with different types of coatings such as milk chocolate or colored candy melts. Additionally, you can mix in various flavors like mint or peanut butter into the cookie mixture for unique twists on this classic recipe.
How do I achieve a crispy texture for my truffles?
To achieve that delightful crispy texture for your Crispy Oreo Eyeball Truffles, ensure you coat each ball generously with melted chocolate but avoid making it too thick as it may lose its crunchiness when refrigerated. Using fresh ingredients and allowing enough time for chilling before coating will also help maintain that desirable texture.
How long can I store my Crispy Oreo Eyeball Truffles?
You can store your Crispy Oreo Eyeball Truffles in an airtight container in the fridge for up to one week without losing flavor or freshness. For longer storage options, you may freeze them by placing layered parchment paper between each layer of truffles; they can last several months if stored correctly!
Crispy Oreo Eyeball Truffles
- Total Time: 25 minutes
- Yield: Makes approximately 12 truffles 1x
Description
Crispy Oreo Eyeball Truffles are the ultimate Halloween treat that combines the beloved flavors of Oreo cookies and cream cheese, all wrapped in a delightful chocolate coating. These spooky, fun-shaped truffles are not only delicious but also add a whimsical touch to any festive gathering. Perfect for parties or as an eerie dessert, they’re sure to impress guests of all ages!
Ingredients
- 1 package (15.35 oz) Oreo cookies
- 8 oz cream cheese, softened
- 1 cup semi-sweet chocolate chips
- 1 tablespoon coconut oil
- 12 edible candy eyes
Instructions
- Crush Oreo cookies in a food processor until finely crumbled.
- In a mixing bowl, combine crushed Oreos and softened cream cheese; mix until smooth.
- Roll the mixture into 1-inch balls and place on a parchment-lined baking sheet.
- Chill the truffles in the refrigerator for 30 minutes to firm up.
- Melt chocolate chips with coconut oil in a microwave-safe bowl, stirring every 20 seconds until smooth.
- Dip each chilled truffle into the melted chocolate and place back on the baking sheet; add an edible eye before the chocolate hardens.
- Prep Time: 20 minutes
- Cook Time: 5 minutes
- Category: Dessert
- Method: None
- Cuisine: American
Nutrition
- Serving Size: 1 truffle (30g)
- Calories: 130
- Sugar: 9g
- Sodium: 70mg
- Fat: 7g
- Saturated Fat: 4g
- Unsaturated Fat: 2g
- Trans Fat: 0g
- Carbohydrates: 16g
- Fiber: 0g
- Protein: 2g
- Cholesterol: 10mg
