

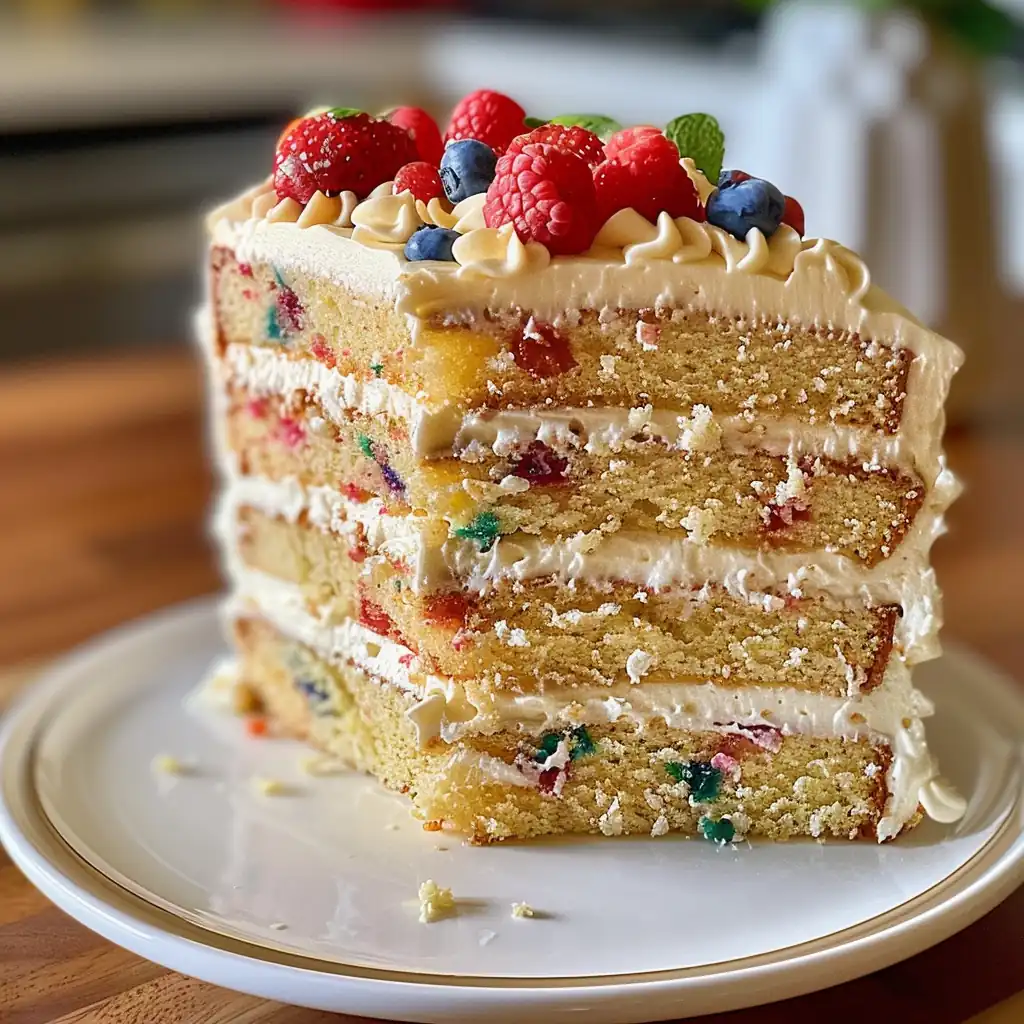
The Definitive Standard for Vanilla Cake |
Stop searching for the perfect sponge because this is the only recipe you will ever need to achieve a professional-grade result. I have spent decades refining the ratios of fat to flour to ensure a crumb that remains moist for days without sacrificing the structural integrity needed for towering layers.
Imagine the kitchen filled with the scent of toasted sugar and warm bean, while the subtle sizzling of butter melting in a pan for a glaze creates a sensory anchor for the baking process. This is not just a cake; it is a technical exercise in balance and flavor extraction that yields a timeless dessert.
- ●Unparalleled moisture levels that prevent the cake from drying out.
- ●A sophisticated, deep vanilla profile rather than a synthetic sweetness.
- ●Stable enough for multi-layered stacking and heavy frostings.
- ●Versatile base that adapts to any celebratory theme or flavor pairing.
- ●Consistent results every single time due to precise technical instructions.
Essential Ingredients |
Cake Flour: I highly recommend King Arthur for its consistent low protein content. Skipping this in favor of all-purpose flour will result in a tougher, bread-like texture rather than a tender crumb.
Unsalted Butter: European-style cultured butter provides a richer flavor and higher fat content. Using salted butter can disrupt the chemical balance of the leavening agents and alter the taste.
Pure Vanilla Bean Paste: I prefer Nielsen-Massey because the visible seeds provide an authentic look and superior depth. Imitation essence will leave the cake tasting flat and one-dimensional.
Large Eggs: Fresh, room-temperature organic eggs are essential for a stable emulsion. Cold eggs will cause the batter to break, leading to an uneven rise in the oven.
Buttermilk: Organic full-fat buttermilk adds a necessary tang and tenderness. Omitting this or using regular milk removes the acidity needed to react with the baking soda for a lift.
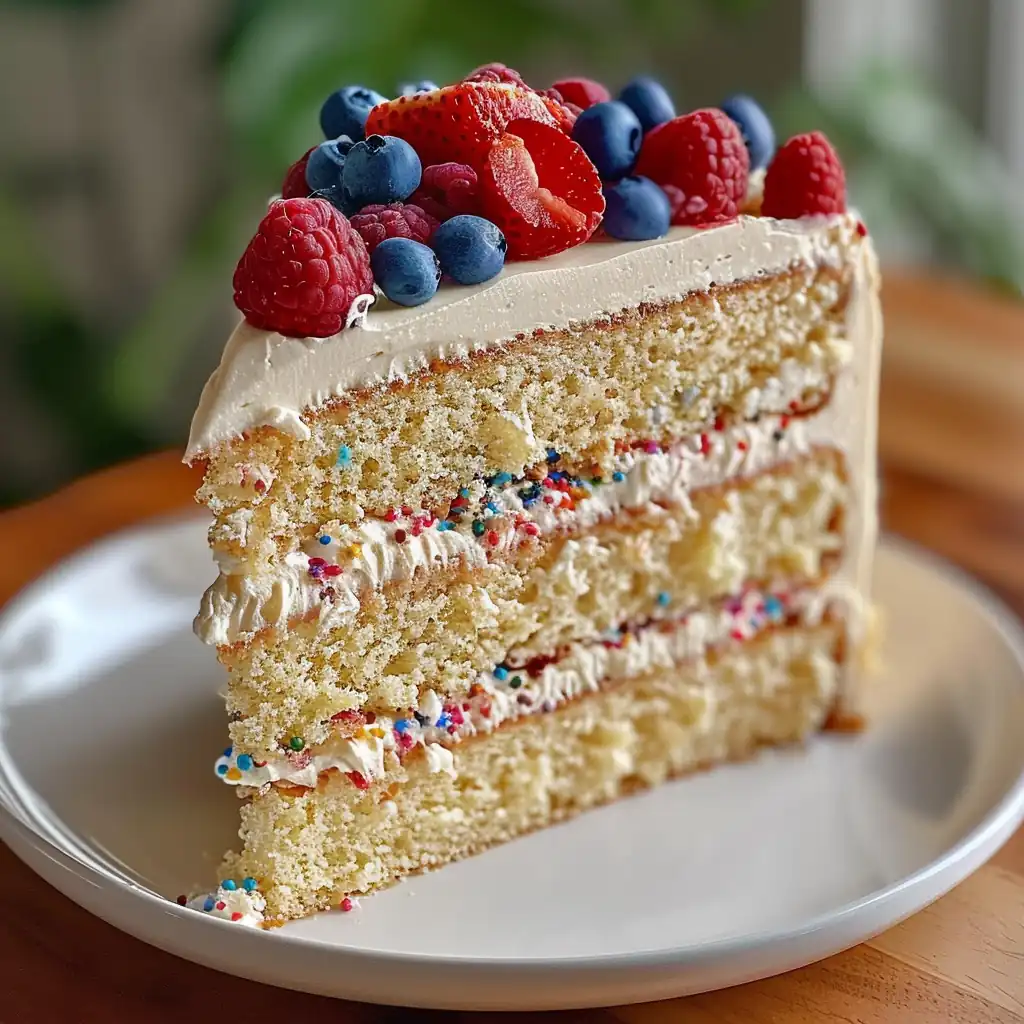 Let’s Make it Together |
- To ensure an even rise and prevent lumps, sift your cake flour, baking powder, and salt into a large bowl together.
- To create an airy structure, cream the softened butter and granulated sugar on medium-high speed until the mixture is pale and fluffy.
- To maintain a stable emulsion, add the eggs one at a time, beating well after each addition to prevent the batter from separating.
- To infuse the maximum amount of flavor, stir in the vanilla bean paste directly into the creamed butter mixture.
- To avoid overworking the gluten, alternate adding the dry ingredients and buttermilk, starting and ending with the flour, mixing only until combined.
- To ensure an even bake, divide the batter equally between greased pans and smooth the tops with a spatula before placing them in the oven.
Precision is the difference between a cake and a masterpiece.
Always use a kitchen scale for flour to avoid packing the measuring cup too tightly.
Avoid opening the oven door during the first twenty minutes to prevent the cake from collapsing.
Ensure your butter is truly room temperature, meaning it should indent easily but not be greasy.
Tapping the pans on the counter before baking removes large air bubbles that cause holes.
Cool the cakes in the pan for ten minutes before transferring them to a wire rack.
Perfecting the Cooking Process |
Temperature control is the most critical variable in this process. I recommend using an oven thermometer to verify that your oven is actually hitting 350°F, as many home ovens fluctuate as 25 degrees, which can lead to peaked tops or burnt edges.
Timing should be judged by a toothpick test rather than a clock. Insert the probe into the center of the cake; it should come out with a few moist crumbs attached, indicating the center is set but hasn’t dried out from over-baking.
Add Your Touch |
For those seeking a citrus twist, replace the buttermilk with a mixture of Greek yogurt and lemon zest. This creates a bright, acidic contrast to the vanilla that is particularly refreshing during summer months.
You can also incorporate a swirl of raspberry jam or salted caramel between the layers. The key is to create a small “dam” of frosting around the edge to keep the fillings from leaking out the sides.
Storing & Reheating |
Store the cake in an airtight container at room temperature for up to three days if it is not frosted. Once frosted, the cake must be kept in the refrigerator to maintain the stability of the buttercream.
To reheat a slice, let it sit at room temperature for thirty minutes to restore the fats. If you prefer it warm, a very brief five-second burst in the microwave will revive the moisture without drying the crumb.
1Use parchment paper at the bottom of your pans for a guaranteed clean release.
2Sift your powdered sugar for the frosting to ensure a silky smooth finish.
3Chill your cake layers in the freezer for an hour before frosting to reduce crumbs.
4Use a rotating cake turntable to achieve professional, sharp edges on your frosting.
5Always scrape the sides of the mixing bowl to ensure no pockets of flour remain.
FAQ |
- ●Q: Why did my cake sink in the middle after baking?< strong>A: This usually happens because the oven door was opened too early, causing a sudden temperature drop, or the baking powder was expired. Ensure your leavening agents are fresh and keep the oven door closed until the cake is fully set.
- ●Q: Can I substitute cake flour with all-purpose flour?A: While you can, the texture will be denser because all-purpose flour has more protein. If you must substitute, remove two tablespoons of all-purpose flour and replace them with cornstarch, then sift the mixture three times.
- ●Q: How do I stop the cake from sticking to the pan?A: The most reliable method is to grease the pan with butter and then line the bottom with a circle of parchment paper. This creates a physical barrier that prevents the cake from gripping the metal, regardless of the recipe.
- ●Q: My batter looks curdled; did I ruin the cake?A: This typically occurs when eggs are added too quickly or are too cold, causing the fat and water to separate. You can often fix this by adding a tablespoon of the flour mixture and beating it on high for one minute.
- ●Q: What is the best way to frost a cake for a professional look?A: Start with a “crumb coat,” which is a thin layer of frosting applied to seal in crumbs, then chill the cake for thirty minutes. After it is firm, apply the final layer of frosting and smooth it with a warm metal bench scraper.
- ●Q: Why is my cake tasting a bit like soap or chemicals?A: This is often the result of using too much baking soda or an imprecise measurement of leavening agents. Always level off your measuring spoons with a flat edge to ensure you aren’t adding excess chemicals to the batter.
Delightful Vanilla Cake Recipe for Every Occasion
- Total Time: 1 hour 5 minutes
- Yield: 8 servings 1x
Description
A professional-grade vanilla sponge with a tender crumb and deep aromatic flavor, perfect for layering and frosting.
Ingredients
- 2 1/2 cups cake flour
- 1 1/2 cups granulated sugar
- 1 cup unsalted butter, room temperature
- 3 large eggs, room temperature
- 1 tbsp vanilla bean paste
- 1 cup buttermilk, room temperature
- 2 1/2 tsp baking powder
- 1/2 tsp baking soda
- 1/2 tsp salt
Instructions
- Preheat oven to 350°F and grease two 8-inch cake pans.
- Sift cake flour, baking powder, baking soda, and salt together.
- Cream butter and sugar until pale and fluffy.
- Beat in eggs one at a time, then stir in vanilla bean paste.
- Alternately mix in dry ingredients and buttermilk, starting and ending with flour.
- Divide batter into pans and bake for 30-35 minutes until a toothpick comes out clean.
- Prep Time: 30 minutes
- Cook Time: 35 minutes
- Category: Dessert
- Method: Baking
- Cuisine: American
