

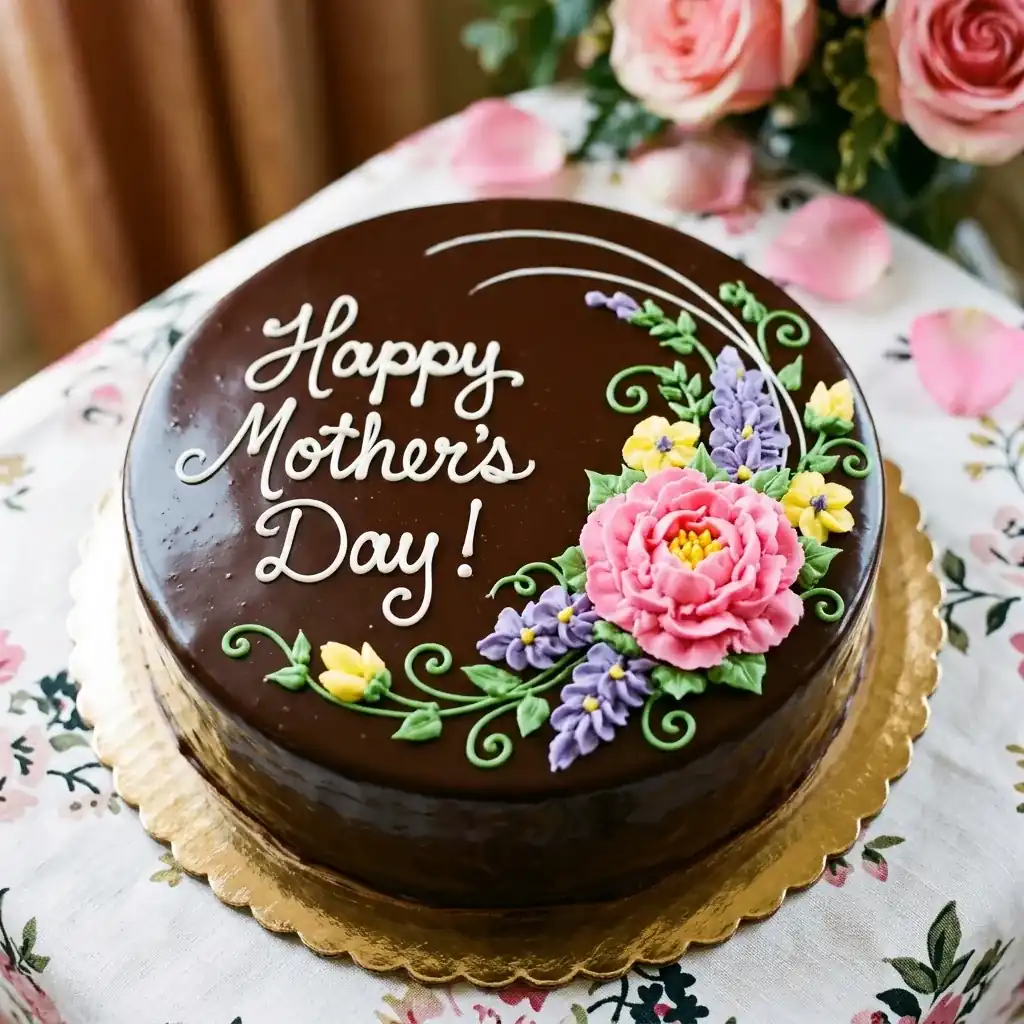
Moms deserve the sweetest treats! |
Celebrating Mother’s Day is a beautiful tradition that stretches across the globe, but in many Western cultures, the centerpiece of the celebration is a stunning, homemade cake. This heritage of baking for our maternal figures represents a cycle of love and gratitude, turning a simple kitchen into a sanctuary of affection where every whisk and fold is a thank you for years of care.
Imagine the smell of warm vanilla drifting through the house while you carefully pipe swirls of frosting onto a golden sponge. The magic happens when you see her face light up at the sight of a cake made specifically for her, proving that the effort put into the process is just as valuable as the taste of the final slice!
- ●The texture is incredibly light and airy, making it a crowd-pleaser for all ages.
- ●It uses simple pantry staples that you likely already have in your kitchen.
- ●The frosting is stable enough for fancy decorating but tastes like a cloud.
- ●It is fully customizable, allowing you to add Mom’s favorite fruits or nuts.
- ●The flavor profile is timeless, balancing sweetness with a hint of rich butter.
Essential Ingredients |
Unsalted Butter provides that rich, creamy foundation and essential moisture. If you need a swap, coconut oil works wonders for a dairy-free twist!
Granulated Sugar creates the perfect sweetness and helps the cake rise. Try coconut sugar if you want a deeper, caramel-like undertone.
Cake Flour ensures a tighter crumb and a more delicate feel than all-purpose. You can make your own tablespoons of flour with cornstarch.
Whole Milk adds richness and keeps the batter smooth. Almond milk is a fantastic alternative for a slightly nutty flavor profile.
Pure Vanilla Extract brings that aromatic, cozy warmth we all crave. For a bolder taste, feel free to substitute this with almond extract.
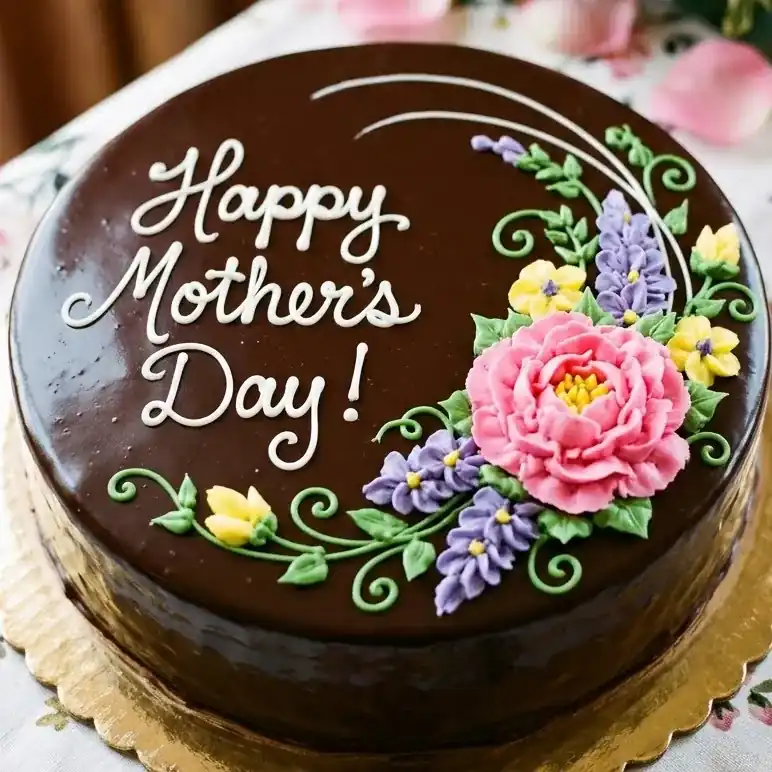 Let’s Make it Together |
- First things first, go ahead and preheat your oven to 350°F and grease those cake pans so nothing sticks!
- Now, grab your mixer and cream together the butter and sugar until it looks fluffy and pale—don’t rush this part!
- Slowly beat in your eggs one by one, making sure each one is fully incorporated before adding the next one.
- Gently stir in your vanilla extract, then alternate adding the dry flour mixture and the milk, stirring just until combined.
- Pour that beautiful batter evenly into your pans and pop them in the oven for about 30 to 35 minutes.
- Let the cakes cool completely in the pan for ten minutes before flipping them onto a wire rack to chill.
- Whip up your buttercream frosting and spread a thick layer between the cakes and all over the outside!
Pure baking magic!
Always ensure your eggs and butter are at room temperature to prevent the batter from curdling.
Avoid overmixing the batter once the flour is added, or the cake will become tough.
Use a toothpick to check for doneness; it should come out clean or with a few moist crumbs.
Cool your layers entirely before frosting, otherwise, your buttercream will literally melt off the cake.
Sift your flour and baking powder together to avoid any unwanted lumps in the final sponge.
Perfecting the Cooking Process |
Temperature control is the secret weapon here. Ensure your oven is fully preheated and avoid opening the door during the first twenty minutes of baking, as the sudden drop in heat can cause the center of the cake to sink.
Precision in measurement is key. Using a kitchen scale for your flour is the most professional way to ensure the cake isn’t too dry, as volume measurements can vary wildly depending on how you scoop the flour.
Add Your Touch |
If you want to surprise Mom with a twist, try folding in some fresh raspberry puree or lemon zest into the batter for a bright, fruity spring flavor that pairs perfectly with vanilla frosting.
For an extra layer of luxury, fill the center of the cake with a layer of homemade strawberry jam or a dollop of lemon curd to create a surprising burst of flavor in every bite.
Storing & Reheating |
Keep this cake in an airtight container in the refrigerator for up to 5 days to maintain the freshness of the buttercream. If you are planning to freeze it, wrap the unfrosted layers tightly in plastic wrap and then foil; they will stay perfect for up to 3 months in the freezer.
To bring a frozen slice back to life, let it thaw slowly in the fridge overnight rather than using a microwave, which can ruin the frosting. If you prefer a slightly warm slice, pop it in a low oven at 200°F for just two minutes, but be careful not to melt the decorations!
1Tap your cake pans on the counter a few times before baking to release any trapped air bubbles.
2Apply a thin “crumb coat” of frosting first and chill the cake for 20 minutes before the final layer.
3Use a serrated knife to level the tops of your cakes for a perfectly flat and stable stack.
4Add a pinch of salt to your buttercream to balance the sugar and enhance the vanilla notes.
5Store the cake with a slice of white bread in the container to keep the sponge extra moist.
FAQ |
- ●Q: How do I stop my cake from sinking in the middle?A: This usually happens because the oven door was opened too early or the baking powder was expired. Make sure your leavening agents are fresh and keep that oven door closed until the timer goes off to maintain a steady internal temperature.
- ●Q: Can I make this cake gluten-free?A: Yes, you can use a high-quality 1:1 gluten-free baking flour blend. However, keep in mind that gluten-free flours can sometimes make the cake slightly denser, so you might want to add an extra tablespoon of milk to keep it moist.
- ●Q: My frosting is too soft, how do I fix it?A: If your buttercream is too runny, simply chill it in the fridge for 15 to 30 minutes and then beat it again with your mixer. If it remains soft, you can whip in a tablespoon of powdered sugar to give it more structure.
- ●Q: What is the best way to decorate the cake for a beginner?A: Focus on a smooth top and use fresh berries or edible flowers to cover any imperfections on the sides. Using a simple offset spatula for the frosting and adding a pile of strawberries on top creates a professional look without needing expert piping skills.

The Ultimate Celebration: Happy Mother’s Day Cake
- Total Time: 1 hour 5 minutes
- Yield: 1 9-inch layer cake 1x
Description
A light, fluffy vanilla sponge cake layered with creamy buttercream frosting, perfect for celebrating Mom with a homemade touch.
Ingredients
- 1 cup unsalted butter, softened
- 2 cups granulated sugar
- 4 large eggs
- 1 tablespoon pure vanilla extract
- 3 cups cake flour
- 1 tablespoon baking powder
- 1/2 teaspoon salt
- 1 cup whole milk
- 3 cups powdered sugar (for frosting)
- 1/2 cup softened butter (for frosting)
Instructions
- Preheat oven to 350°F and grease two 9-inch cake pans.
- Cream butter and sugar together until fluffy.
- Beat in eggs one at a time, then stir in vanilla extract.
- Sift flour, baking powder, and salt together.
- Alternate adding dry ingredients and milk to the butter mixture, stirring until just combined.
- Divide batter into pans and bake for 30-35 minutes.
- Cool cakes completely before frosting with whipped butter and powdered sugar.
- Prep Time: 30 minutes
- Cook Time: 35 minutes
- Category: Dessert
- Method: Baking
- Cuisine: American
