


If you’re on the lookout for a delightful dessert that combines the best of both worlds, look no further than these vegan brookies. These aromatic and tasty treats are a perfect blend of brownies and cookies, delivering a heavenly experience with every bite. Whether you’re vegan or just seeking to indulge in something delicious, I make these vegan brookies almost every week to satisfy my sweet tooth!
What makes these brookies so special is their unique texture and rich flavor profile. They boast the fudginess of brownies alongside the chewy goodness of cookies, making them an irresistible treat for any occasion. You can whip up this simple recipe in no time, creating a dessert that everyone will love, regardless of their dietary preferences.
Why You’ll Love This Recipe
This vegan brookie recipe is not only easy to make, but it also caters to various dietary needs without compromising on taste. First and foremost, the combination of brownies and cookies means you don’t have to choose between the two; you get to enjoy both in one delicious bite. The rich chocolate flavor will tantalize your taste buds and leave you craving more.
Another reason you’ll fall in love with this recipe is its versatility. You can customize it by adding your favorite mix-ins like nuts, dried fruits, or even vegan chocolate chips. Plus, it’s a great way to use up ingredients you have on hand while still creating something decadent. Lastly, these brookies are perfect for sharing; they make an excellent treat for gatherings or simply as a sweet surprise for loved ones.
Key Ingredients
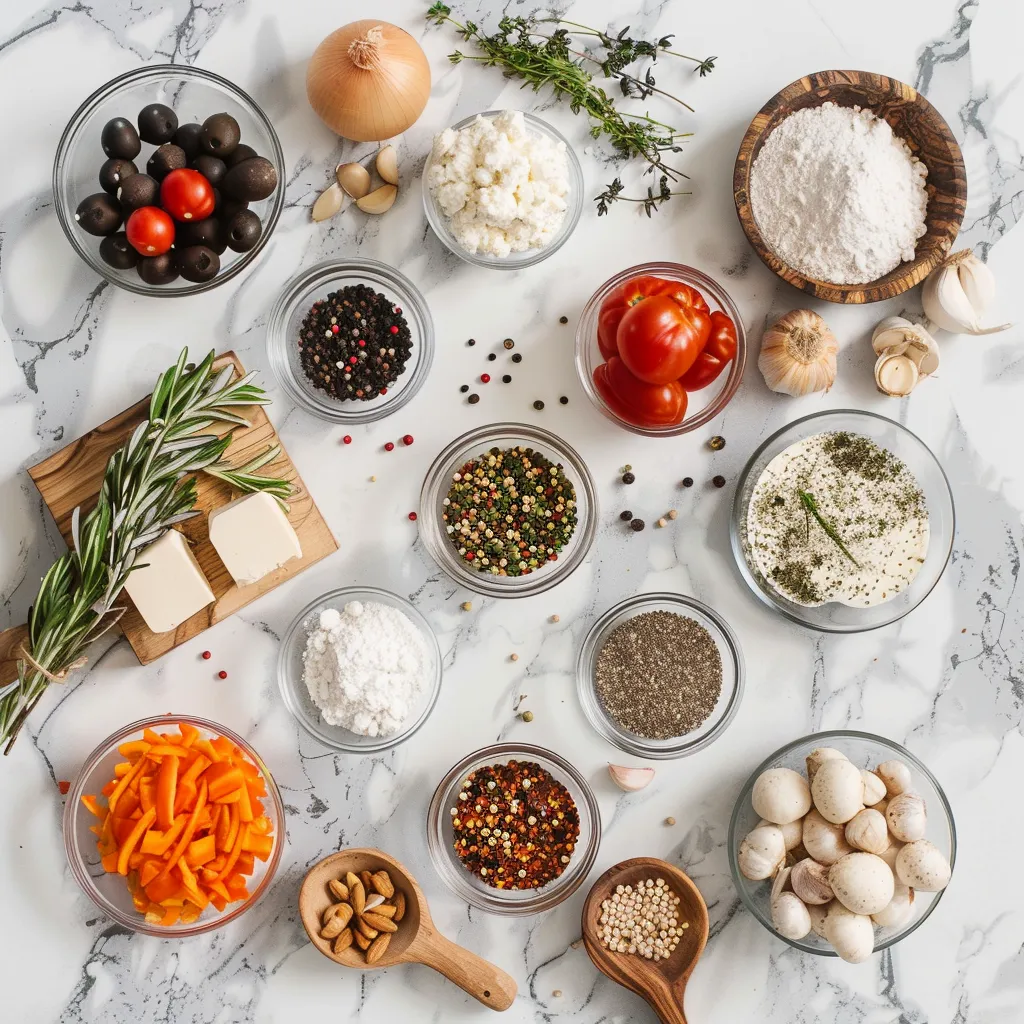
To create these delicious vegan brookies, you’ll need some simple yet flavorful ingredients. Each component plays a vital role in achieving that perfect texture and taste.
- Flour: All-purpose flour provides the structure for both the brownie and cookie layers.
- Cocoa Powder: Unsweetened cocoa powder adds richness and depth of flavor to the brownie component.
- Brown Sugar: This gives the brookies their moistness and deep sweetness.
- Maple Syrup: A natural sweetener that enhances the overall flavor while keeping it vegan.
- Plant-Based Butter: For added creaminess and moisture in both layers.
- Baking Powder: Helps the dough rise slightly for a light texture.
- Dairy-Free Chocolate Chips: Essential for that gooey chocolate experience in every bite!
Step-by-Step Instructions
- Preheat your oven to 350°F (175°C) and line a baking dish with parchment paper for easy removal later.
- In one bowl, combine all dry ingredients: flour, cocoa powder, baking powder, and brown sugar. Mix well until evenly combined.
- Melt your plant-based butter in a separate bowl, then add maple syrup and mix until smooth. Combine this wet mixture with the dry ingredients until just incorporated.
- Add dairy-free chocolate chips into the brownie batter and stir gently to distribute them evenly throughout the mixture.
- Create the cookie dough: In another bowl, mix flour with brown sugar and dairy-free butter until crumbly. Fold in additional chocolate chips if desired.
- Spoon alternating layers of brownie batter and cookie dough into your prepared baking dish. Swirl together lightly with a knife or spatula for a marbled effect.

Expert Tips
If you want to elevate your vegan brookies even further, here are some expert tips. First, consider chilling your dough before baking; this helps with easier handling and enhances flavors. Additionally, using high-quality cocoa powder will significantly impact the overall taste—don’t skimp on this ingredient! If you’re feeling adventurous, try adding spices like cinnamon or espresso powder for an extra flavor boost. Lastly, remember to let your brookies cool completely before cutting them; this allows them to set perfectly for that ideal texture!
Presentation Ideas
Your vegan brookies deserve an equally delightful presentation! Consider serving them warm with a scoop of dairy-free ice cream on top for an indulgent dessert experience. Arrange them neatly on a decorative platter or cut them into fun shapes using cookie cutters for special occasions. Dusting them lightly with powdered sugar or drizzling melted dairy-free chocolate over the top can also add an elegant touch that elevates their appearance even further!
FAQs
Can I use gluten-free flour?
Yes! You can substitute all-purpose flour with gluten-free flour blends designed for baking. Just ensure it contains xanthan gum or other binding agents to maintain texture.
How should I store leftover brookies?
The best way to store leftover vegan brookies is in an airtight container at room temperature for up to three days or refrigerated for up to a week. You can also freeze them wrapped tightly in plastic wrap if you’d like them to last longer!
Can I add nuts or other mix-ins?
Certainly! Feel free to incorporate your favorite nuts such as walnuts or pecans into either layer of the batter. Just be mindful of how much you add as too many mix-ins may affect the overall consistency.
Aren’t brookies hard to make?
Nope! This recipe is quite beginner-friendly despite its impressive results. With clear steps provided above, even novice bakers will find success in creating these delicious treats!
I don’t have maple syrup; can I use agave instead?
A great alternative! Agave syrup works well as a substitute in this recipe; just keep in mind that it may slightly alter the flavor profile while still maintaining sweetness!

Vegan Brookies
- Total Time: 40 minutes
- Yield: Approximately 12 servings 1x
Description
Indulge in the delectable fusion of brownies and cookies with these vegan brookies! This easy-to-follow recipe results in rich, fudgy treats that are perfect for any occasion. Enjoy the chewy texture and heavenly chocolate flavor, making them a beloved choice for both vegans and non-vegans alike. Customize with your favorite mix-ins for an extra twist!
Ingredients
- 1 cup all-purpose flour
- 1/2 cup unsweetened cocoa powder
- 3/4 cup brown sugar
- 1/4 cup maple syrup
- 1/2 cup plant-based butter (melted)
- 1 tsp baking powder
- 1/2 cup dairy-free chocolate chips
- 1 cup all-purpose flour (for cookie layer)
- 1/4 cup brown sugar (for cookie layer)
- 1/2 cup plant-based butter (for cookie layer, softened)
- Additional dairy-free chocolate chips (optional)
Instructions
- Preheat your oven to 350°F (175°C) and line a baking dish with parchment paper.
- In one bowl, mix the first set of flour, cocoa powder, baking powder, and brown sugar until well combined.
- In another bowl, mix melted plant-based butter with maple syrup until smooth. Combine this with the dry ingredients until just incorporated. Stir in dairy-free chocolate chips.
- For the cookie dough, mix the second set of flour, brown sugar, and softened plant-based butter until crumbly. Add more chocolate chips if desired.
- Alternately spoon brownie batter and cookie dough into the prepared dish. Swirl together lightly for a marbled effect.
- Bake for 25-30 minutes or until a toothpick comes out clean.
- Prep Time: 15 minutes
- Cook Time: 25 minutes
- Category: Dessert
- Method: Baking
- Cuisine: Vegan
Nutrition
- Serving Size: 1 brookie (40g)
- Calories: 160
- Sugar: 10g
- Sodium: 80mg
- Fat: 7g
- Saturated Fat: 3g
- Unsaturated Fat: 4g
- Trans Fat: 0g
- Carbohydrates: 23g
- Fiber: 2g
- Protein: 2g
- Cholesterol: 0mg
