

I once tried to make these with a generic frosting that was so runny the cakes slid right off the plates. It was a sticky, cocoa-covered disaster that looked more like mud puddles than desserts.
That failure taught me that the structural integrity of the filling is the secret to a perfect sandwich cookie. Now, I treat every batch as an experiment in texture and spookiness.
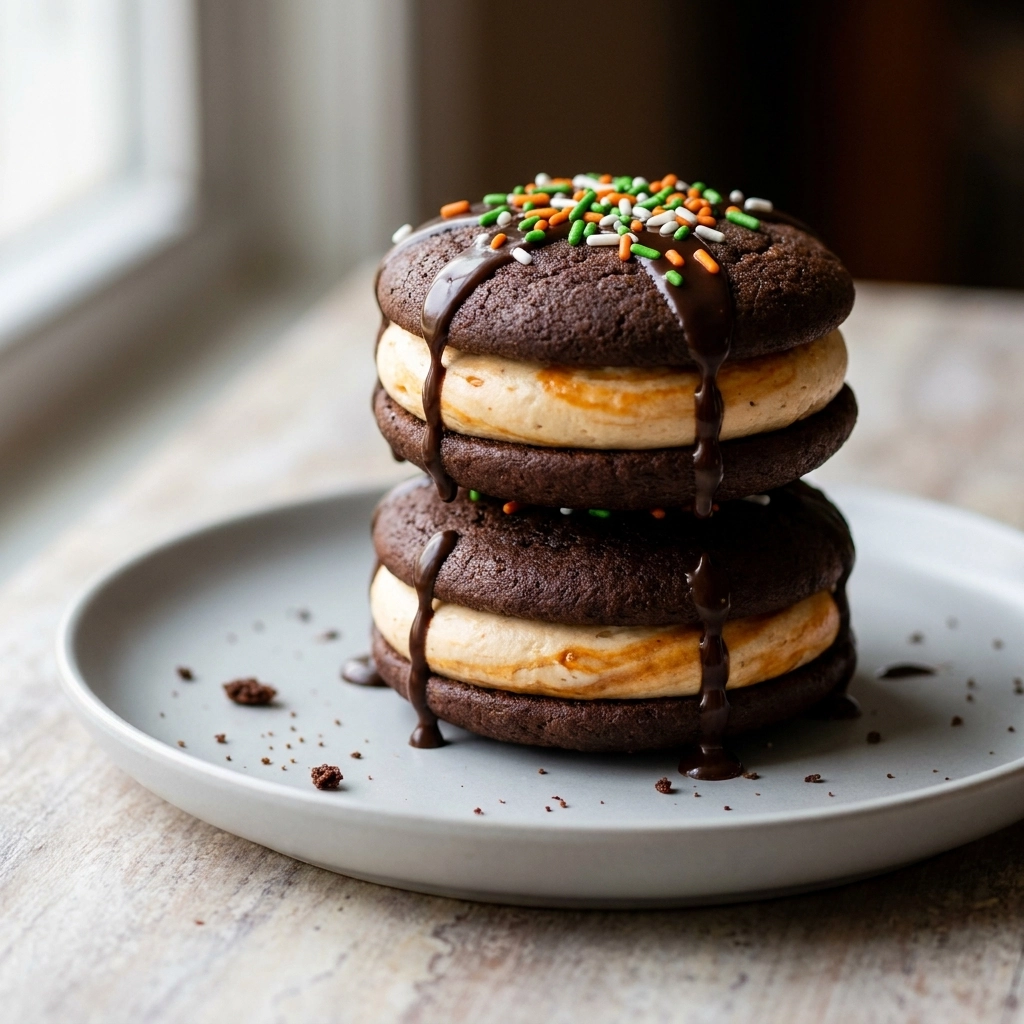
These treats are soft, pillowy chocolate cakes joined by a cloud of sweet cream, designed to look like monsters or pumpkins. They bridge the gap between a cake and a cookie, offering the best of both worlds.
Families love them because they are interactive and visually stunning without requiring professional pastry skills. Every child gets to help with the decorating, making it a full-blown kitchen adventure.
Unlike the store-bought versions, which often taste like preservatives and cardboard, these are bursting with real cocoa and buttery goodness. The difference is immediate and undeniable.
This recipe is a dream for parents who want to create lasting October memories with their kids. It is purely about the joy of creation.
Let us dive into the magical process of bringing these ghostly treats to life. If you enjoy a variety of treats, try our Spooktacular Halloween Brookies A Scrumptious Delight
- ●Why You’ll Love This Recipe
- ●A Brief Background / Why This Recipe Works
- ●Perfect For Spooky Family Celebrations
- ●Main Ingredient Spotlight: Cocoa Powder
- ●Secondary Ingredient Spotlight: Cream Cheese
- ●Key Ingredients
- ●How to Make It
- ●Pro Tips
- ●Delicious Variations
- ●Best Ways to Serve
- ●Storage and Leftovers
- ●Frequently Asked Questions
- ●Why This Recipe Belongs in Your Weekly Rotation
- ●Final Thoughts
There is something inherently magical about a dessert that feels like a toy and tastes like a dream. Here is why this recipe wins every time:
- ●The texture is incredibly soft and moist, making it a hit with toddlers.
- ●Customization is endless, allowing for different spooky themes.
- ●They are easier to transport than a traditional layered cake.
- ●The frosting acts as a glue, keeping everything secure.
- ●Kids can lead the decorating process, boosting their confidence.
- ●It uses simple pantry staples that you likely already own.
- ●They look impressive on a party platter with minimal effort.
- ●The cocoa flavor is rich but balanced filling.
Once you see the look on your children’s faces, you will realize this is more than just a dessert.
A Brief Background / Why This Recipe Works |
Whoopie pies have roots in New England and Pennsylvania, originally appearing as a rustic, home-style treat. They are essentially two soft cakes sandwiched together, a concept that naturally lends itself to creative shapes.
I almost gave up on this recipe until I realized that the temperature of the butter in the frosting was the culprit. When the butter is perfectly softened, the filling stays put and allows for towering treats.
The chemistry here relies on the balance between the acidity of the cocoa and the lift from the leavening agents. This creates a crumb that is sturdy enough to hold a filling but tender enough to melt in your mouth.
Perfect For Spooky Family Celebrations |
These pies are the ultimate addition to any Halloween bash, whether it is a school party or a neighborhood gathering. Their portable nature makes them far superior to slices of cake that require plates and forks.
For busy weeknights, you can bake the cakes ahead of time and let the kids decorate them as a calming activity before the trick-or-treating chaos begins. It turns a stressful evening into a creative session.
If you are planning a themed dinner, these serve as a whimsical finale. They pair beautifully with other festive snacks. You might also enjoy our Tasty Spooky Cheesy Halloween Breadstick Bones Recipe Delight
Main Ingredient Spotlight: Cocoa Powder |
Cocoa powder provides the soul of these cakes, delivering a deep, earthy chocolate flavor that anchors the sweetness. It is essential for achieving that signature dark hue that looks so striking against colorful frosting.
Using a high-quality Dutch-process cocoa creates a smoother, less acidic taste. If you skip this ingredient, you lose the entire identity of the treat, turning a whoopie pie into a generic vanilla cake.
Secondary Ingredient Spotlight: Cream Cheese |
Cream cheese is the secret weapon in the filling, providing a tangy counterpoint to the rich chocolate. It adds a level of stability and creaminess that plain buttercreams simply cannot match.
The fat content in the cheese ensures the frosting doesn’t break or leak. Skipping it would result in a filling that lacks depth and fails to hold the cakes together firmly.
Key Ingredients |
Gather these essentials to start your spooky baking adventure:
- ●All-purpose flour — provides the necessary structure and bulk for the cake.
- ●Unsweetened cocoa powder — gives the cakes their rich chocolate flavor and color.
- ●Granulated sugar — ensures the cakes are sweet and the crumb is tender.
- ●Baking soda — the lifting agent that makes the cakes fluffy.
- ●Eggs — binds the ingredients together and adds richness.
- ●Buttermilk — adds moisture and a slight tang to the chocolate base.
- ●Cream cheese — the base for the thick, stable frosting.
- ●Unsalted butter — makes the filling creamy and spreadable.
- ●Powdered sugar — sweetens the frosting while keeping it smooth.
- ●Vanilla extract — enhances all the other flavors in the mix.
- ●Food coloring — transforms the frosting into spooky greens, purples, or oranges.
 How to Make It |
Follow these steps to create a batch of hauntingly delicious treats. Embrace the mess and have fun with it!
- Whisk the dry ingredients: Combine your flour, cocoa, and baking soda in a large bowl. Sift them together to avoid lumps of cocoa, which can create bitter spots in the cakes. Pro tip: Sifting actually aerates the flour, leading to a lighter cake.
- Beat the wet ingredients: In a separate bowl, mix the eggs, buttermilk, and sugar until the mixture is smooth and pale. Ensure the buttermilk is at room temperature so it doesn’t curdle the batter.
- Fold the mixtures together: Gently incorporate the dry ingredients into the wet batter using a spatula. Stop mixing as soon as the streaks of flour disappear to avoid overworking the gluten, which would make the cakes tough.
- Scoop the batter: Drop rounded tablespoons of batter onto a lined baking sheet, leaving plenty of space between them. They will spread slightly, and you want clean circles for easier sandwiching later.
- Bake the cakes: Slide the tray into the oven and bake until the tops spring back when touched lightly. Overbaking will dry them out, turning your soft pies into hard biscuits. Pro tip: Use a digital thermometer to ensure the internal temperature is just right.
- Chill the cakes: Allow the cakes to cool completely on a wire rack before attempting to frost them. If the cakes are even slightly warm, your cream cheese frosting will melt into a puddle.
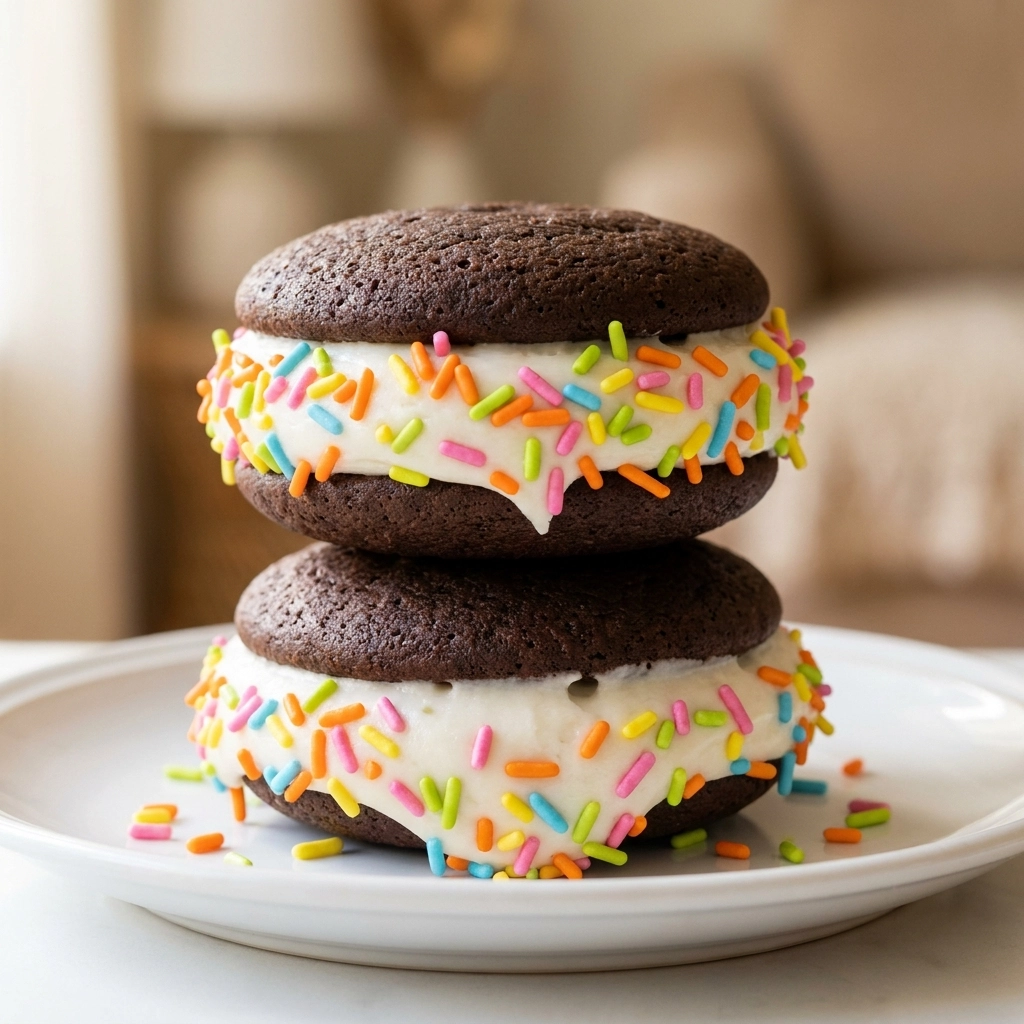
- Whip the filling: Beat the cream cheese and butter together until fluffy, then gradually add the powdered sugar and vanilla. The mixture should be stiff enough to hold a peak.
- Pipe the frosting: Place a generous dollop of frosting on the flat side of one cake and press another cake on top. Don’t press too hard, or the frosting will squeeze out the sides. Pro tip: Use a piping bag for a more professional, centered look.
- Decorate with flair: Add candy eyes, orange sprinkles, or chocolate chips to turn your pies into monsters. This is where the magic happens!
1Master these tricks to ensure your treats are the talk of the neighborhood.
- ●2Room Temperature Basics: Always use room temperature cream cheese and butter to avoid lumps in your frosting.
- ●3The Parchment Rule: Always use parchment paper or a silicone mat to prevent the cakes from sticking to the pan.
- ●4Consistency Check: If the frosting feels too soft, chill it in the fridge for ten minutes before piping.
- ●5Size Matching: Pair cakes of similar sizes together for a symmetrical look. Exquisite Halloween Mummy Hand Pies A Spooky Delight also benefit from careful sizing.
- ●6Flavor Balancing: Add a pinch of salt to the chocolate batter to make the cocoa flavor pop.
Delicious Variations |
Don’t feel limited recipe; use it as a canvas for your imagination!
- ●Pumpkin Patch Twist: Replace the cocoa powder with pumpkin puree and cinnamon for orange-hued cakes.
- ●Gluten-Free Magic: Use a high-quality 1:1 gluten-free flour blend to accommodate all guests.
- ●Midnight Mint: Fold in a few drops of peppermint extract and mini chocolate chips into the batter.
- ●Vegan Delight: Substitute buttermilk with almond milk and a splash of lemon juice, and use vegan butter and cream cheese.
- ●Spooky Berry: Swirl a bit of raspberry jam into the cream cheese frosting for a “bloody” monster effect.
Experimenting with these options allows you to tailor the recipe to any dietary need or flavor preference.
Best Ways to Serve |
Presentation is everything when it comes to Halloween treats. Here are some ways to make them shine:
- ●Arrange them on a dark slate platter to make the bright frosting colors pop.
- ●Place them in individual cupcake liners for easy grab-and-go serving at parties.
- ●Create a “monster tower” pies high with extra frosting between layers.
- ●Serve them alongside a glass of cold milk or a warm apple cider.
For a truly theatrical experience, place the platter under a cloche and surround it with faux cobwebs. This adds an element of mystery to the dessert table.
You can also set up a decorating station where kids can add their own toppings. It turns the dessert into a fun activity. For more ideas, check out our Halloween Whoopie Pies 1.Png for visual inspiration.
Storage and Leftovers |
Refrigerating
Store the assembled pies in an airtight container in the refrigerator for up to 5 days. The cream cheese filling requires cold storage to stay fresh and stable.
Reheating
These are best enjoyed chilled or at room temperature. If they have become too firm, let them sit out for 20 minutes before serving; do not microwave them as the frosting will melt.
Freezing
You can freeze the unfrosted cakes for up to 3 months in a freezer bag. Once thawed, frost them and serve immediately for the best texture.
Frequently Asked Questions |
- ●Q: Why are my whoopie pies too flat?A: This usually happens if your baking soda is expired or if you over-mixed the batter. Ensure your leavening agents are fresh and fold the flour in gently to keep the air bubbles intact, which provides the necessary lift.
- ●Q: Can I use regular milk instead of buttermilk?A: You can, but the texture will be slightly different. To mimic buttermilk, add one tablespoon of lemon juice or white vinegar to a cup of milk and let it sit for five minutes before using it in the batter.
- ●Q: How do I stop the frosting from leaking out?A: The key is using a stiff frosting and not pressing the two cakes together too hard. If your frosting is too soft, add a bit more powdered sugar or chill the filling before you begin the assembly process.
- ●Q: Can I make these cakes in a cake pan instead?A: Yes, you can bake the batter in a sheet pan and use a round cookie cutter to carve out circles. This ensures every single cake is perfectly uniform in size, which is great for a professional-looking presentation.
- ●Q: What is the best way to get the frosting smooth?A: Use a stand mixer or hand mixer and beat the cream cheese and butter on high for at least three minutes. This incorporates air and ensures there are no lumps of cheese left in your spooky filling.
Why This Recipe Belongs in Your Weekly Rotation |
While these are themed for Halloween, the core combination of chocolate and cream cheese is a timeless classic. base, you can create treats for any occasion throughout the year.
The joy this recipe brings to children is unmatched, providing a rare moment of collaborative creativity in the kitchen. It teaches them patience and precision while rewarding them with something delicious.
Moreover, the versatility of the ingredients means you can easily adapt them for birthdays or winter holidays. It is a foundational recipe that grows with your baking skills.
Final Thoughts |
These whoopie pies are a delightful blend of rich chocolate and tangy frosting, wrapped in a whimsical Halloween theme. From the pillowy cakes to the colorful decorations, every element is designed for maximum joy.
You should make these because they transform a simple dessert into a festive event for your family. The process is forgiving, the results are stunning, and the taste is absolutely irresistible.
Gather your little monsters and start baking some magic today!
Spooktacular Halloween Whoopie Pies Recipe to Delight Kids
- Total Time: 32 minutes
- Yield: 24 pies 1x
Description
Soft, cocoa-rich chocolate cakes sandwiched with a creamy, tangy cream cheese frosting and decorated for Halloween. A perfect, kid-friendly treat for October celebrations.
Ingredients
- 2 cups all-purpose flour
- 3/4 cup unsweetened cocoa powder
- 1 1/2 cups granulated sugar
- 1 tsp baking soda
- 1/2 tsp salt
- 2 large eggs
- 1 cup buttermilk
- 8 oz cream cheese, softened
- 1/2 cup unsalted butter, softened
- 3 cups powdered sugar
- 1 tsp vanilla extract
- Gel food coloring (orange, green, or purple)
Instructions
- Preheat your oven to 350°F (175°C) and line two baking sheets with parchment paper.
- Whisk together flour, cocoa powder, baking soda, and salt in a large bowl until well combined.
- In a separate bowl, beat the eggs, buttermilk, and granulated sugar until smooth.
- Fold the dry ingredients into the wet ingredients using a spatula until just combined; do not overmix.
- Scoop about 2 tablespoons of batter per cake onto the prepared sheets, spacing them 2 inches apart.
- Bake for 10-12 minutes or until a toothpick inserted in the center comes out clean.
- Cool cakes completely on a wire rack.
- Beat softened cream cheese and butter together until fluffy, then mix in powdered sugar, vanilla, and food coloring.
- Pipe a dollop of frosting onto the flat side of one cooled cake and top with another cake.
- Add candy eyes or sprinkles to create your spooky monster designs.
- Prep Time: 20 minutes
- Cook Time: 12 minutes
- Category: Dessert
- Method: Baking
- Cuisine: American

