

Introduction |
I still remember the first time I attempted these treats in my grandmother’s sunny kitchen, where the air smelled of vanilla extract and warm cinnamon. The sound of the mixer humming and the sight of pastel confetti dancing across the counter created a sense of pure magic that I wanted to recreate every single spring.
But here’s the thing: many people find the idea of cake pops intimidating, fearing they will slide right off the stick or look messy. I want you to know that you absolutely can do this, regardless of your skill level, because the process is much more forgiving than it looks on professional bakery displays.
That’s exactly why I developed this foolproof method to ensure your festive pops turn out perfectly every time. Whether you are baking with children or preparing a spread for a sophisticated brunch, these little spheres of joy bring a whimsical touch to any Easter celebration.
- ●The texture is incredibly moist. directly into the cake crumbs, you create a fudge-like consistency that prevents the treats from drying out.
- ●Customization is effortless. You can use any flavor of cake you prefer, allowing you to tailor the taste to your family’s specific cravings.
- ●They are perfect for kids. The small size makes them a natural finger food, and decorating them is a fantastic sensory activity for little hands.
- ●Visual appeal is maximized. The bright pastel colors and easy-to-add sprinkles make these pops look like they came from a high-end patisserie.
- ●Prep is incredibly flexible. You can bake the cake days in advance, making the actual assembly a relaxing process rather than a stressful rush.
Essential Ingredients |
Baked Cake provides the structural base; the starches and proteins in the cake create the necessary crumb that holds the shape of the pop.
Buttercream Frosting acts as the chemical binder; the fats in the frosting encapsulate the cake crumbs to create a malleable, clay-like dough.
Candy Melts are essential for the shell; these contain stabilizers that allow the chocolate to set quickly and maintain a glossy, vibrant color.
Cake Pop Sticks provide the necessary leverage; they allow you to dip the cake without compressing the delicate center with your fingers.
Pastel Sprinkles add texture and visual contrast; the sugar crystals provide a slight crunch that offsets the softness of the cake interior.
 Let’s Make it Together |
- Crumble your cooled cake into a large bowl using your fingers or a fork until it resembles fine sand. Ensure there are no large chunks, as this creates a smoother texture and prevents the pops from cracking.
- Mix in your frosting one tablespoon at a time, stirring gently until a thick, dough-like consistency forms. Stop immediately once the dough holds together in a ball; over-mixing can lead to a greasy texture.
- Roll the mixture into small, one-inch spheres using the palms of your hands. They should feel firm and smooth; avoid making them too large or they may slide off the sticks.
- Dip the tip of a cake pop stick into melted chocolate and insert it halfway into the cake ball. This creates a ‘glue’ that secures the cake to the stick, preventing the dreaded pop-drop.
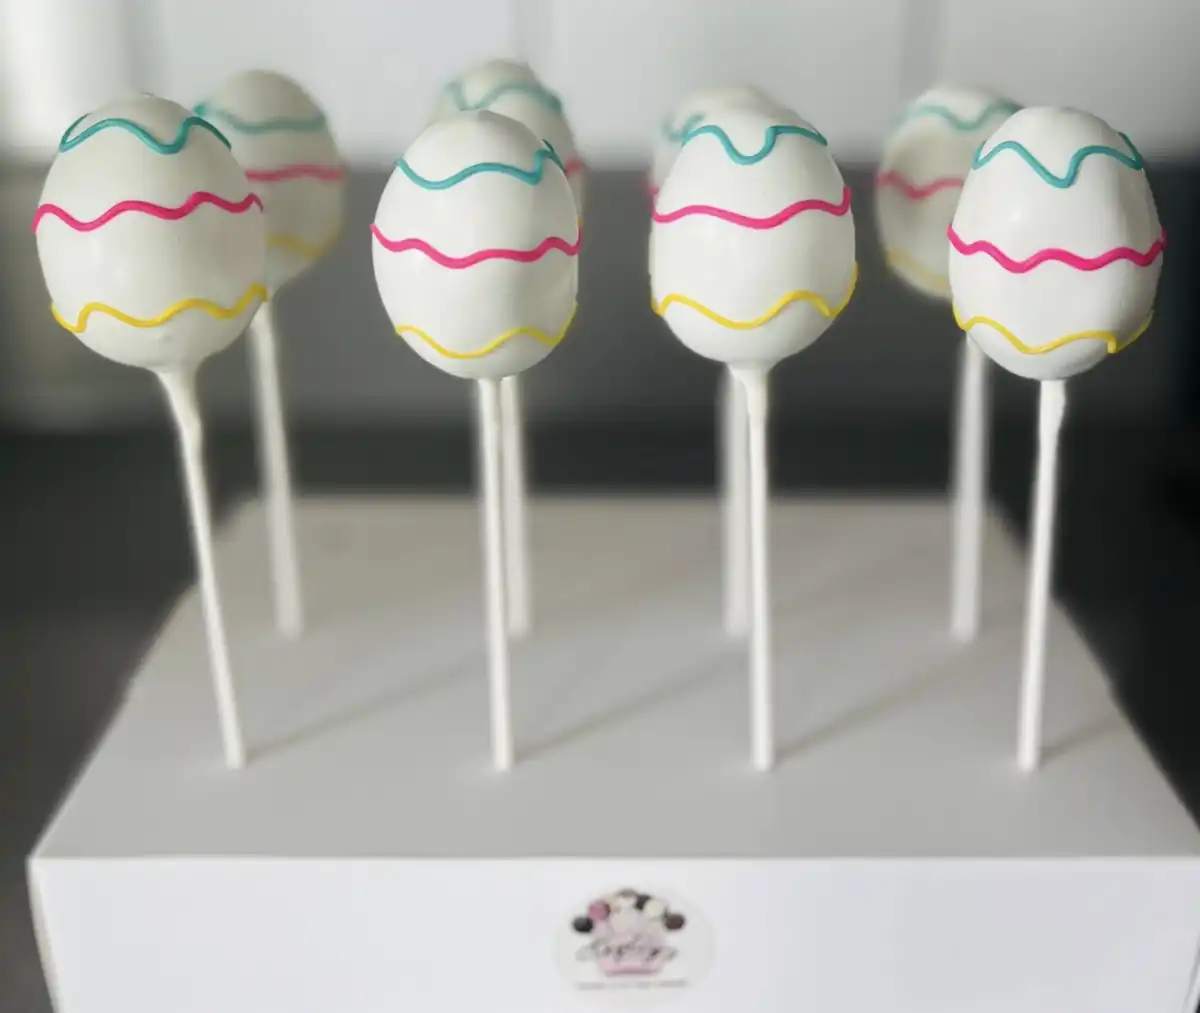
- Submerge the entire ball into the melted candy coating, rotating it slowly to cover the top and sides. Lift it straight up and shake gently to remove excess chocolate for a clean finish.
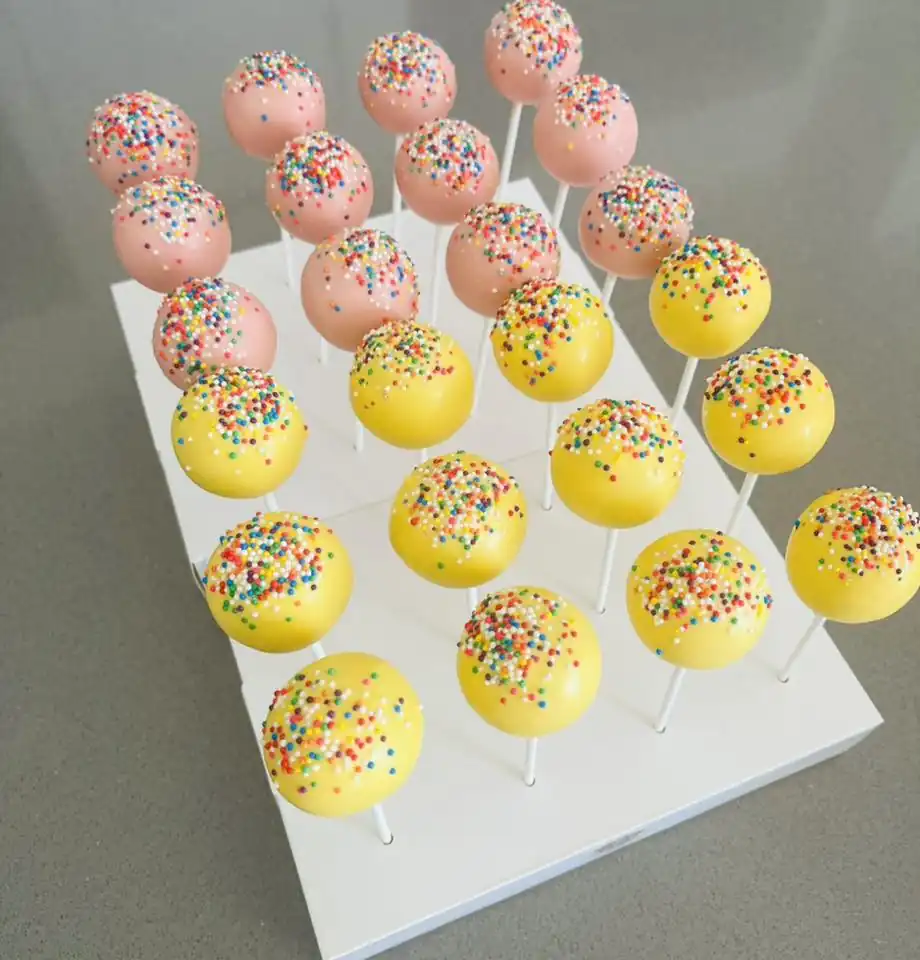
- Place the pops upright in a styrofoam block and immediately add your pastel sprinkles while the coating is wet. Wait until the chocolate is completely hard before moving them to avoid leaving fingerprints.
Always let your cake cool completely before crumbling it to avoid melting the frosting.
Avoid overheating your candy melts in the microwave to prevent the chocolate from seizing.
Use a small amount of frosting; too much will make the pops too heavy to stay on the stick.
Freeze the rolled balls for ten minutes before dipping to help them hold their shape.
Keep your sprinkles in a separate bowl to avoid contaminating the main chocolate pot.
Perfecting the Cooking Process |
Temperature control is the most critical aspect of achieving a professional finish. Your candy melts should be warm and fluid, but not boiling; if they are too hot, they will run off the cake and create a thin, translucent layer rather than a thick, satisfying shell.
Timing is equally important when it comes to the frosting integration. If you add too much frosting too quickly, the cake pops will become overly soft and lose their spherical integrity, leading to an oval shape that looks less polished.
Add Your Touch |
For a surprising twist, try stuffing a small piece of a marshmallow or a chocolate chip inside the center of the cake ball before rolling. This adds a hidden layer of texture that delights guests when they take their first bite.
Alternatively, substitute traditional cake for a lemon or carrot cake base to lean into the spring theme. Pairing lemon cake with a light pink coating creates a sophisticated flavor profile that is refreshing and bright.
Storing & Reheating |
Store your completed cake pops in an airtight container in the refrigerator to keep the coating firm and the cake moist. They will stay fresh for up to five days, though they are best enjoyed within the first forty-eight hours.
Avoid reheating these treats in a microwave, as the candy coating will melt instantly. Simply let them sit at room temperature for fifteen minutes before serving to allow the cake to soften naturally.
1Use a melon baller to ensure every single cake pop is the exact same size.
2Tapping the stick gently on the counter helps settle the cake firmly onto the stick.
3Add a tiny drop of coconut oil to your melts for a glossier, smoother finish.
4Chill the sticks in the freezer for a few minutes before inserting them into the cake.
5Use a toothpick to remove any air bubbles from the chocolate coating before adding sprinkles.
FAQ |
- ●Q: Why are my cake pops falling off the sticks? This usually happens because there wasn’t enough ‘glue’ or the cake balls were too soft. To fix this, always dip the stick into the melted chocolate before inserting it into the cake, and make sure you don’t over-mix the frosting into the crumbs.
- ●Q: How do I get a perfectly smooth chocolate coating? The secret is to dip the cake ball slowly and lift it straight up in one fluid motion. Avoid swirling the pop back and forth in the chocolate, as this creates ripples and uneven layers on the surface.
- ●Q: Can I use real chocolate instead of candy melts? Yes, you can use high-quality chocolate, but you must add a small amount of shortening or coconut oil to help it flow. Real chocolate is more temperamental and may require more careful heating to avoid seizing or blooming.
- ●Q: What is the best cake to use for these pops? A dense butter cake or a pound cake works best because they provide a sturdy structure. Avoid using extremely airy cakes like angel food cake, as they can be too fragile to hold a spherical shape.
Easter Cake Pops Recipe – Easy, Fun & Festive Treats for the Season
- Total Time: 45 minutes
- Yield: 24 cake pops 1x
Description
Festive, bite-sized cake pops coated in pastel chocolate and sprinkles, perfect for Easter celebrations.
Ingredients
- 4 cups crumbled baked cake
- 1/2 cup buttercream frosting
- 12 oz pastel candy melts
- 24 cake pop sticks
- 1/4 cup pastel sprinkles
Instructions
- Crumble cake into a fine powder in a large bowl.
- Mix in frosting until a dough forms.
- Roll into 1-inch balls and chill for 10 minutes.
- Dip stick in melted chocolate and insert into cake ball.
- Dip entire ball into melted chocolate.
- Add sprinkles immediately and let set.
- Prep Time: 45 minutes
- Cook Time: 0 minutes (using pre-baked cake)
- Category: Dessert
- Method: No-Bake Assembly
- Cuisine: American
