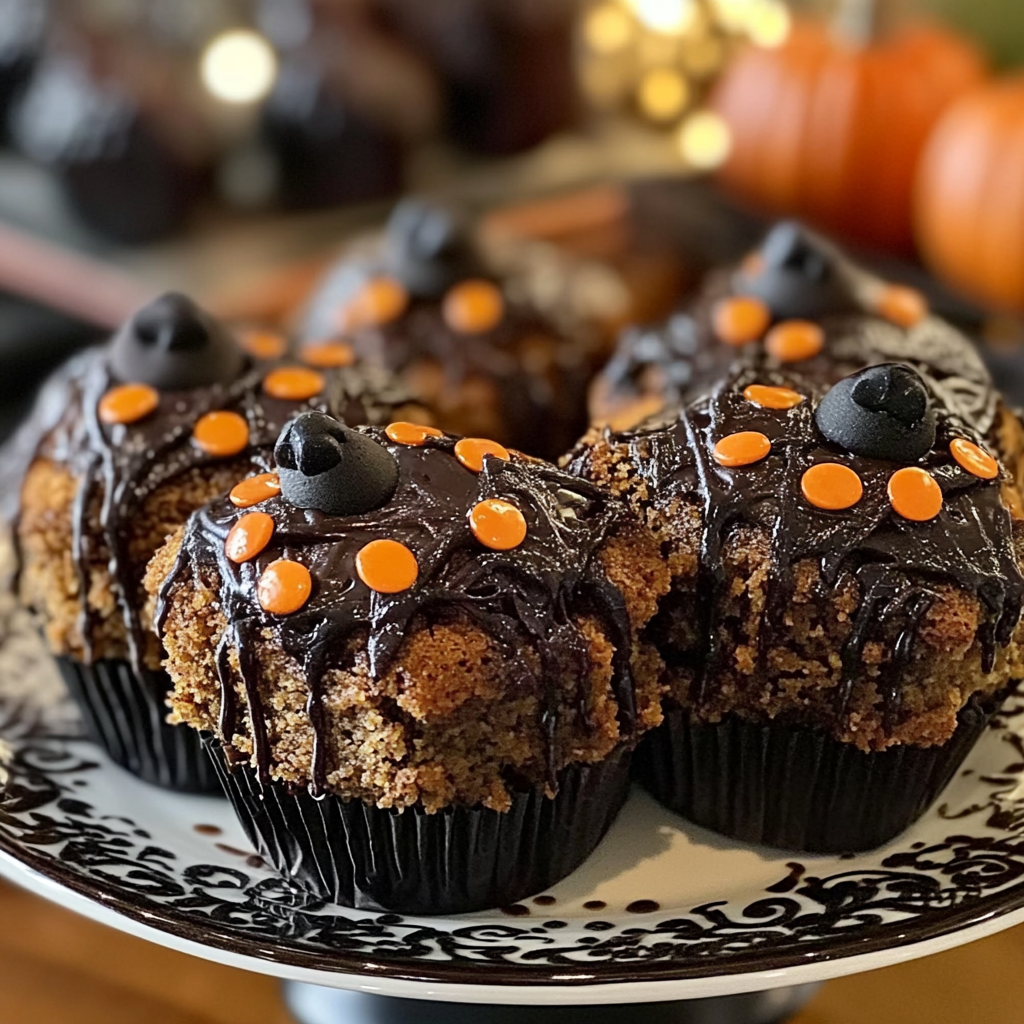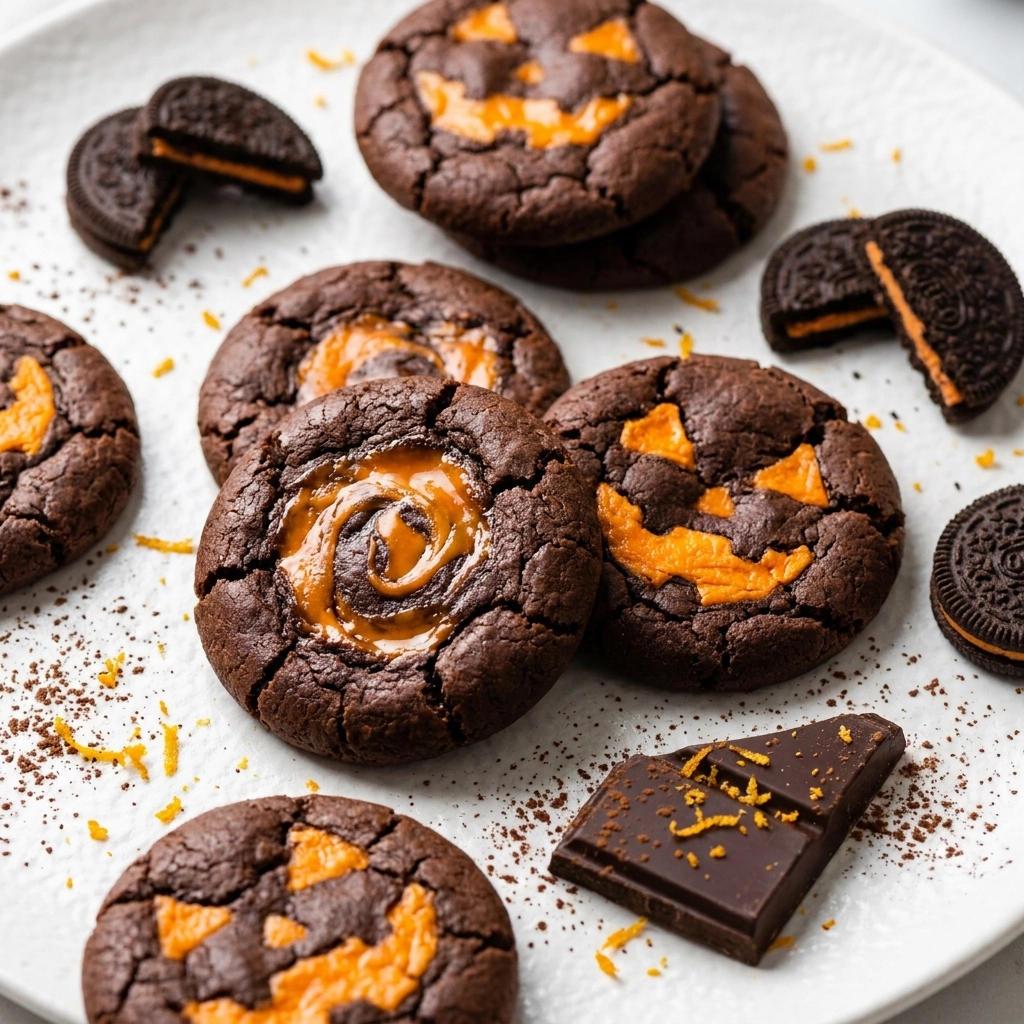
The air in my kitchen shifted the moment the first batch hit the oven, filling the room with a heavy, intoxicating scent of molten cocoa and caramelized sugar.
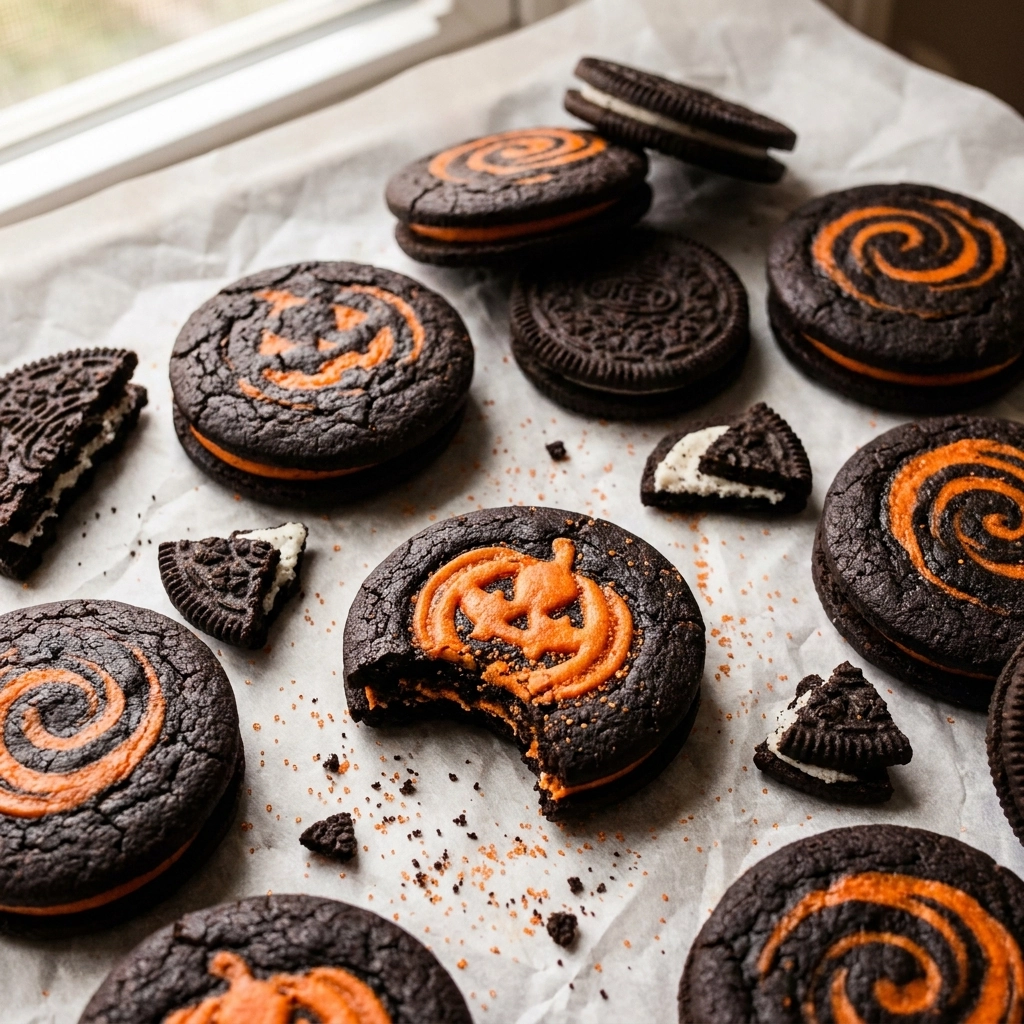
These Halloween Oreo Chocolate Cookies are a decadent fusion of a fudgy brownie and a classic chocolate chip cookie, studded with crushed sandwich cookies.
Home bakers adore them because they manage to be visually striking while remaining incredibly simple to execute.
What truly sets these apart is the textural contrast between the soft, chewy center and the crisp, cocoa-infused Oreo chunks.
While store-bought Halloween cookies often taste like wax and artificial corn syrup, these provide a deep, artisanal chocolate experience.
This recipe is a dream for parents hosting a school party or anyone looking to impress guests at a hauntingly good get-together.
Let’s dive into the secrets of achieving that perfect spooky bake. Zesty Chocolate Haystack Cookies A Delicious Treat
- ●Why You’ll Love This Recipe
- ●A Brief Background on the Science of the Bake
- ●Perfect For Spooky Parties and Family Baking
- ●The Magic of Cocoa Powder
- ●The Role of Oreo Cookies
- ●Key Ingredients
- ●How to Make It
- ●Pro Tips
- ●Delicious Variations
- ●Best Ways to Serve
- ●Storage and Leftovers
- ●Frequently Asked Questions
- ●Why This Recipe Belongs in Your Weekly Rotation
- ●Final Thoughts
Beyond the spooky aesthetics, there are practical reasons why this recipe consistently outperforms standard chocolate cookies.
- ●Intense chocolate profile that satisfies the most hardcore cocoa cravings.
- ●Built-in crunch from the Oreo pieces that prevents the cookie from feeling one-dimensional.
- ●Quick prep time that allows for more time spent on decorations.
- ●A naturally dark color that fits the Halloween theme without using excessive food coloring.
- ●High versatility in how you can decorate the tops for different monsters.
- ●Reliable texture that stays chewy for several days.
- ●Kid-friendly process that lets children help with the crushing of the cookies.
- ●Impressive presentation that looks professional on a dessert platter.
Once you taste the depth of flavor, you will see why these are a staple for October. Magical Witchy Cookies For Halloween Spooktacular Treats
A Brief Background on the Science of the Bake |
The success of this cookie lies in the balance of fats and sugars. By using a combination of melted butter and brown sugar, we create a hygroscopic environment that traps moisture, ensuring the center remains fudgy while the edges crisp up.
You’ll notice that the addition of crushed Oreos does more than add flavor; the small particles of cookie wheat act as tiny structural supports, preventing the dough from spreading too thin in the oven.
During development, I made the mistake of over-mixing the batter after adding the flour, which developed too much gluten and turned the cookies cakey rather than chewy. Learning to stop mixing the second the streaks of flour disappear is the key to that melt-in-your-mouth texture.
Ultimately, the chemistry of cocoa powder interacting with the butter creates a rich emulsion that carries the flavor across the palate more effectively than chocolate chips alone.
Perfect For Spooky Parties and Family Baking |
These cookies are an ideal choice for busy weeknights when you need a quick win for a school bake sale or a last-minute neighborhood gathering. The dough can be prepped ahead of time, meaning you can have them ready to pop in the oven the moment guests arrive.
For family dinners during the Halloween season, these serve as a fantastic activity for children. Letting the kids crush the Oreos in a plastic bag is a great way to involve them in the kitchen without creating an insurmountable mess.
During the holidays, these cookies act as a centerpiece for dessert boards. Their deep brown hue provides a stunning backdrop for orange frosting or white chocolate drizzles, making them a visual triumph on any table.
The Magic of Cocoa Powder |
Cocoa powder is the backbone of this recipe because it provides a concentrated, bitter contrast to the sweet sugar. Unlike melted chocolate, which contains cocoa butter and lecithin, pure cocoa powder allows us to control the moisture levels of the dough precisely.
It creates a cohesive, dark canvas that makes the white filling of the Oreo pieces pop visually. This ensures every bite has a consistent chocolate intensity without the risk of oversized chocolate chunks creating uneven pockets of sweetness.
The Role of Oreo Cookies |
Oreos provide a dual-purpose benefit: they add a distinct vanilla-cream note and a satisfying textural snap. The chocolate wafers in the Oreos are baked at a different temperature than the cookie dough, meaning they maintain a slight crunch even after the second bake.
Your pan should be carefully spaced because the Oreos can cause the cookies to expand slightly unevenly. This irregularity is actually what gives the cookies their homemade, rustic charm and increases the surface area for those delicious crispy edges.
Key Ingredients |
Understanding the role of each component helps you troubleshoot your bake if the environment is too humid or dry.
- ●Unsalted Butter — Provides the essential fat for a tender crumb and a rich, buttery mouthfeel.
- ●Brown Sugar — The molasses content adds a deep caramel note and ensures the cookie remains soft.
- ●Granulated Sugar — Responsible for the crisp edges and the overall structure of the cookie.
- ●Eggs — Act as the binding agent and provide moisture for a cohesive dough.
- ●Vanilla Extract — Enhances the cocoa notes and adds a layer of aromatic complexity.
- ●All-Purpose Flour — Provides the necessary structure to hold the ingredients together.
- ●Cocoa Powder — Delivers the intense chocolate flavor and the signature dark Halloween color.
- ●Baking Soda — A leavening agent that reacts with the brown sugar to create a slight lift.
- ●Salt — Balances the sweetness and intensifies the perception of chocolate.
- ●Oreo Cookies — Adds textural contrast and pockets of creamy sweetness.
 How to Make It |
Follow these steps closely to ensure your cookies don’t over-spread and maintain that perfect spooky chewiness. Magical Witchy Cookies For Halloween Spooktacular Treats Halloween Cookie Ideas
- Cream the butter and sugars: Beat your softened butter with both sugars until the mixture looks pale and fluffy. You are looking for a whipped consistency here because this incorporates air, which prevents the cookies from becoming dense bricks.
- Incorporate wet ingredients: Add the eggs one at a time, beating well after each, then stir in the vanilla. Trust your nose here; you should smell the vanilla blooming as it blends with the fats of the butter.
- Sift the dry ingredients: Whisk together the flour, cocoa powder, baking soda, and salt in a separate bowl. Sifting is non-negotiable because cocoa powder is notorious for clumps that can leave bitter pockets of dry powder in your final cookie.
- Combine gently: Gradually add the dry mixture to the wet ingredients on low speed. Stop the mixer the moment the flour disappears to avoid overworking the gluten, which is the most common cause of tough cookies.
- Fold in the Oreos: Gently stir in the crushed Oreo pieces using a spatula. Avoid over-mixing at this stage, or you’ll break the cookie chunks into dust, losing that coveted textural contrast.
- Chill the dough: Place the dough in the fridge for at least 30 minutes. This step is critical because it solidifies the fats, ensuring the cookies don’t melt into a single giant puddle on your baking sheet.
- Scoop and bake: Roll the chilled dough into balls and place them on a lined sheet. Bake until the edges are set but the centers still look slightly underdone; they will firm up on the hot pan after you remove them.
- Cool and decorate: Let them rest on the pan for 5 minutes before moving them to a wire rack. This is when you can add orange icing or candy eyes while they are still slightly warm.
1Small adjustments in technique can lead to a professional-grade result every single time.
- ●2Room Temperature Ingredients: Ensure your eggs and butter are at room temperature so they emulsify properly without separating.
- ●3Use Parchment Paper: Avoid greasing the pan with butter; use parchment or a silicone mat to prevent the bottoms from over-browning.
- ●4Measure Flour by Weight: If you have a scale, use it; scooping flour with a cup often packs it down, leading to dry, crumbly cookies.
- ●5Underbake Slightly: The carry-over heat from the pan continues to cook the cookie; pulling them out early preserves the fudgy center.
- ●6Consistent Sizing: Use a cookie scoop to ensure every treat is the same size, meaning they all finish baking at the exact same second.
Delicious Variations |
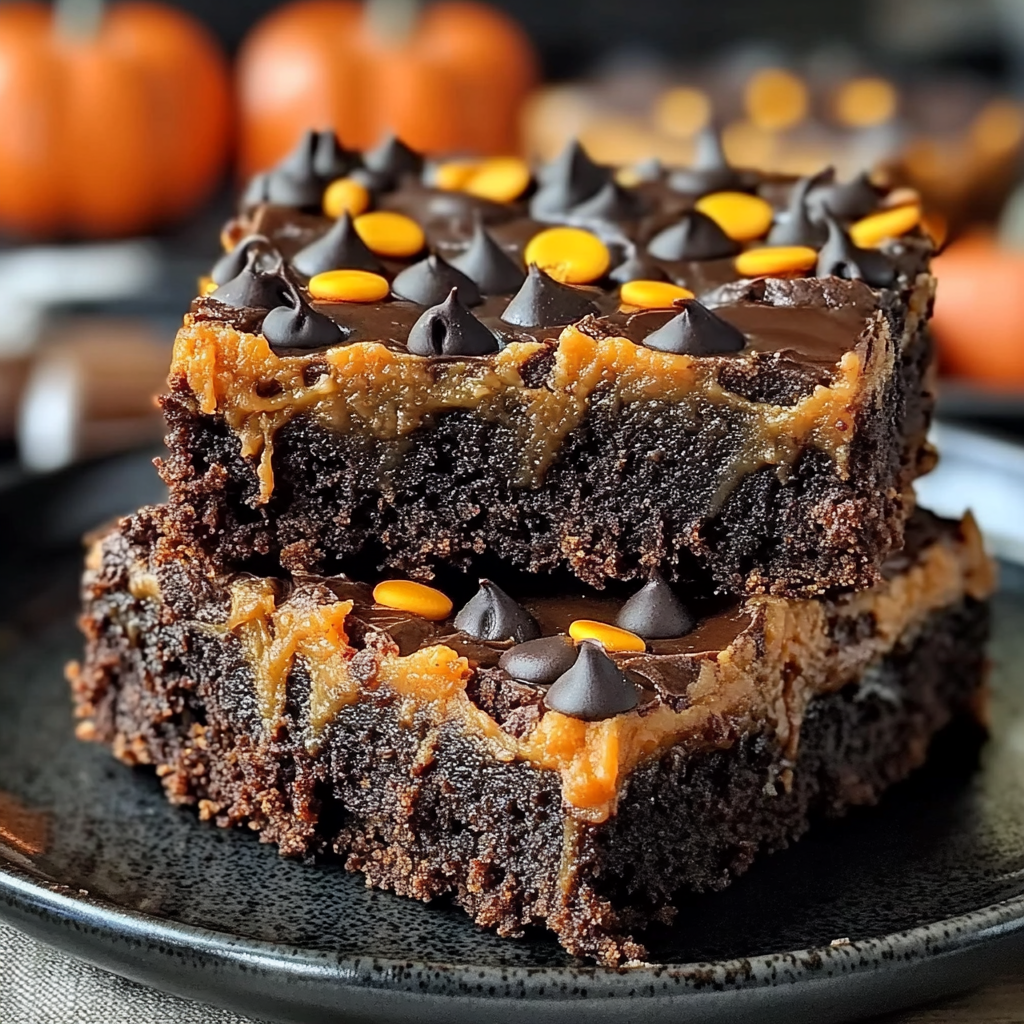
While the original is a masterpiece, you can easily tweak the profile to suit your specific cravings. Spooktacular Halloween Brookies A Tasty Treat Scrumptious 1.Png
- ●White Chocolate Twist: Swap the Oreo chunks for white chocolate chips for a high-contrast look and a creamier taste.
- ●Peanut Butter Swirl: Add a dollop of peanut butter to the center of each dough ball before baking for a stuffed surprise.
- ●Sea Salt Finish: Sprinkle a pinch of flaky Maldon salt on top immediately after baking to cut through the rich sweetness.
- ●Orange Zest Infusion: Rub orange zest into the granulated sugar for a subtle citrus note that screams Halloween.
- ●Double Stuffed: Use Double Stuf Oreos for an even more indulgent, creamy interior experience.
No matter which version you choose, the base dough remains a reliable foundation for creativity.
Best Ways to Serve |
Presentation is half the fun when it comes to holiday baking, and these cookies offer endless possibilities.
- ●On a tiered platter surrounded and faux cobwebs for a spooky effect.
- ●Paired with a glass of cold milk or a warm pumpkin spice latte.
- ●As part of a dessert charcuterie board with fresh berries and orange slices.
- ●Stacked in a tower with a drizzle of melted white chocolate.
For a more interactive experience, set up a decorating station with bowls of orange frosting, edible glitter, and candy eyes. This allows guests to customize their own spooky monsters.
You’ll notice that these cookies pair exceptionally well with acidic drinks, such as a tart cranberry punch, which cleanses the palate between rich bites. Exquisite Effortless Cranberry Chocolate Chip Cookies A Tasty Treat 1.Png
Storage and Leftovers |
Refrigerating
Store the cookies in an airtight container in the fridge for up to one week. This keeps the fudgy center intact and prevents the Oreo pieces from softening too much.
Reheating
Pop a cookie in the microwave for 8 to 10 seconds. This slightly melts the chocolate and restores that fresh-from-the-oven gooeyness without drying out the crumb.
Freezing
Freeze baked cookies for up to three months or raw dough balls for up to two months. To bake from frozen, simply add two minutes to the original baking time. Spooktacular Halloween Brookies A Tasty Treat Scrumptious 2.Png
Frequently Asked Questions |
- ●Q: Can I use a different type of sandwich cookie instead of Oreos?A: Yes, you can certainly use other brands or flavors, such as Golden Oreos or chocolate wafers. However, keep in mind that the cream filling content affects the moisture; if using a cookie without filling, you may want to add a teaspoon of extra butter to maintain the chewiness.
- ●Q: Why did my cookies spread too much and become flat?A: This usually happens if the butter was too melted or if you skipped the chilling step. Chilling the dough is essential because it ensures the fat stays solid longer in the oven, allowing the edges to set before the center collapses.
- ●Q: Can I make this recipe gluten-free?A: You can substitute the all-purpose flour with a high-quality 1:1 gluten-free baking blend and use gluten-free Oreo alternatives. Be sure to choose a blend that contains xanthan gum to ensure the cookies have the proper bind and don’t crumble upon impact.
- ●Q: Is it possible to use Dutch-processed cocoa powder instead of natural cocoa?A: Absolutely, and in fact, Dutch-processed cocoa will give you an even darker, more mahogany color and a smoother flavor. Because Dutch cocoa is less acidic, you might notice a slightly different rise, but it generally works perfectly in this specific recipe.
- ●Q: How do I prevent the Oreo pieces from sinking to the bottom?A: The secret is to ensure your dough is chilled and thick before adding the pieces. If the dough is too warm, it becomes too fluid, and the heavy cookie chunks will migrate downward during the baking process.
- ●Q: My cookies are too cakey; what went wrong?A: This is almost always a result of over-mixing the batter after the flour has been added. When you mix too much, you develop the gluten proteins, which creates a bread-like structure instead of a dense, fudgy cookie texture.
Why This Recipe Belongs in Your Weekly Rotation |
While designed for Halloween, the deep chocolate profile makes these a year-round winner for any dessert occasion. They satisfy the craving for something rich and indulgent without requiring hours of labor or professional equipment.
The ability to prep the dough in advance means you can have high-quality treats ready for unplanned guests or a sudden craving for something sweet. It removes the stress of baking while maintaining a gourmet standard.
Final Thoughts |
These Oreo Chocolate Cookies combine the nostalgia of a favorite childhood snack with the sophistication of a dark chocolate bake. They are balanced, textural, and visually stunning, making them a powerhouse of a dessert.
Whether you are hosting a massive Halloween bash or just want a cozy treat for your family, this recipe delivers consistent, delicious results. It proves that you don’t need complex ingredients to create a truly memorable flavor experience.
Now, grab your apron, put on your favorite spooky playlist, and bring these hauntingly delicious treats to your kitchen tonight!

Halloween Oreo Chocolate Cookies: A Spooktacular Treat!
- Total Time: 32 minutes
- Yield: 24 cookies 1x
Description
A rich, fudgy chocolate cookie loaded with crushed Oreo pieces for a perfect textural contrast. Ideal for Halloween parties and chocolate lovers.
Ingredients
- 1 cup unsalted butter, softened
- 3/4 cup brown sugar, packed
- 3/4 cup granulated sugar
- 2 large eggs
- 1 tablespoon vanilla extract
- 2 cups all-purpose flour
- 1/2 cup unsweetened cocoa powder
- 1 teaspoon baking soda
- 1/2 teaspoon salt
- 1.5 cups crushed Oreo cookies
Instructions
- Preheat oven to 350°F (175°C) and line baking sheets with parchment paper.
- Cream together softened butter, brown sugar, and granulated sugar until light and fluffy.
- Beat in eggs one at a time, followed by vanilla extract.
- In a separate bowl, whisk together flour, cocoa powder, baking soda, and salt.
- Gradually stir the dry ingredients into the wet mixture on low speed until just combined.
- Fold in the crushed Oreo pieces using a spatula.
- Chill the dough in the refrigerator for 30 minutes.
- Scoop 2-tablespoon sized balls of dough and place them 2 inches apart on the baking sheet.
- Bake for 10-12 minutes until edges are set but centers are slightly soft.
- Cool on the pan for 5 minutes before transferring to a wire rack.
- Prep Time: 20 minutes
- Cook Time: 12 minutes
- Category: Dessert
- Method: Baking
- Cuisine: American